I came across a lovely first-time bathroom DIY from another creator and I’m resharing it here in a clearer, step-by-step format so anyone can follow along at home. This keeps the spirit of the original story—calm, practical, no jargon—just organised for a website with headings and image slots.
Safety note: Hire a licensed pro for electrics and any plumbing you’re not confident with (US: GFCI, UK: RCD/Part P).
What you’ll need
Core materials
- Cement backer board + matching screws, mesh tape & joint compound
- Thinset/adhesive, spacers/leveling clips, grout, grout sealer
- Wood-look porcelain/ceramic planks (floor tile)
- Door threshold / marble saddle
- Toilet wax/rubber ring (new) + new braided supply line
- Compact vanity + top, tap/mixer, trap
- Mould-resistant paint, neutral-cure silicone
Basic tools
- Tape measure, spirit level, pencil, utility knife
- Pry bar, rubber mallet, drill/driver
- Notched trowel, tile cutter/wet saw
- Broom/vac, bucket & sponge, gloves & eye protection
Step-by-step
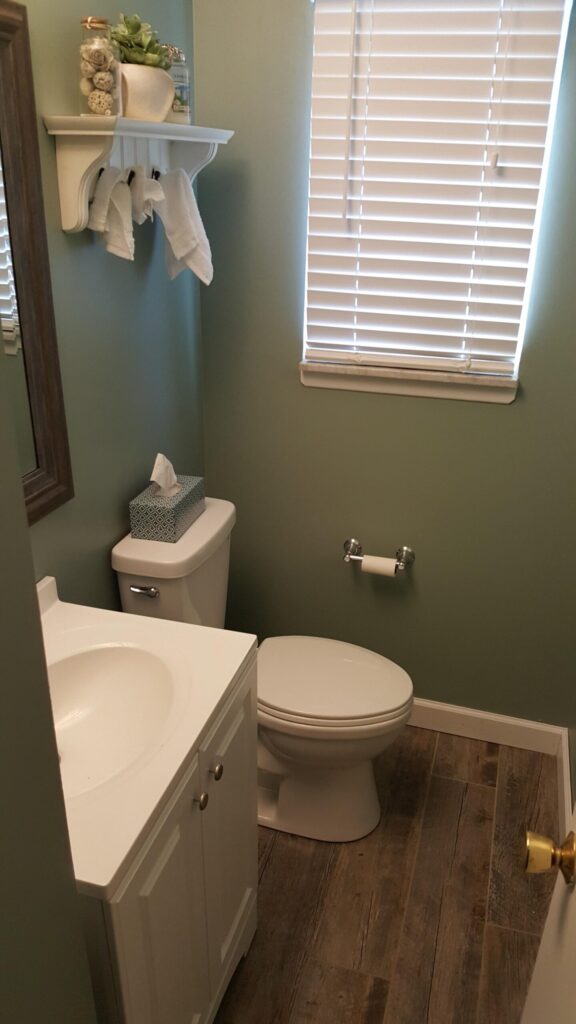
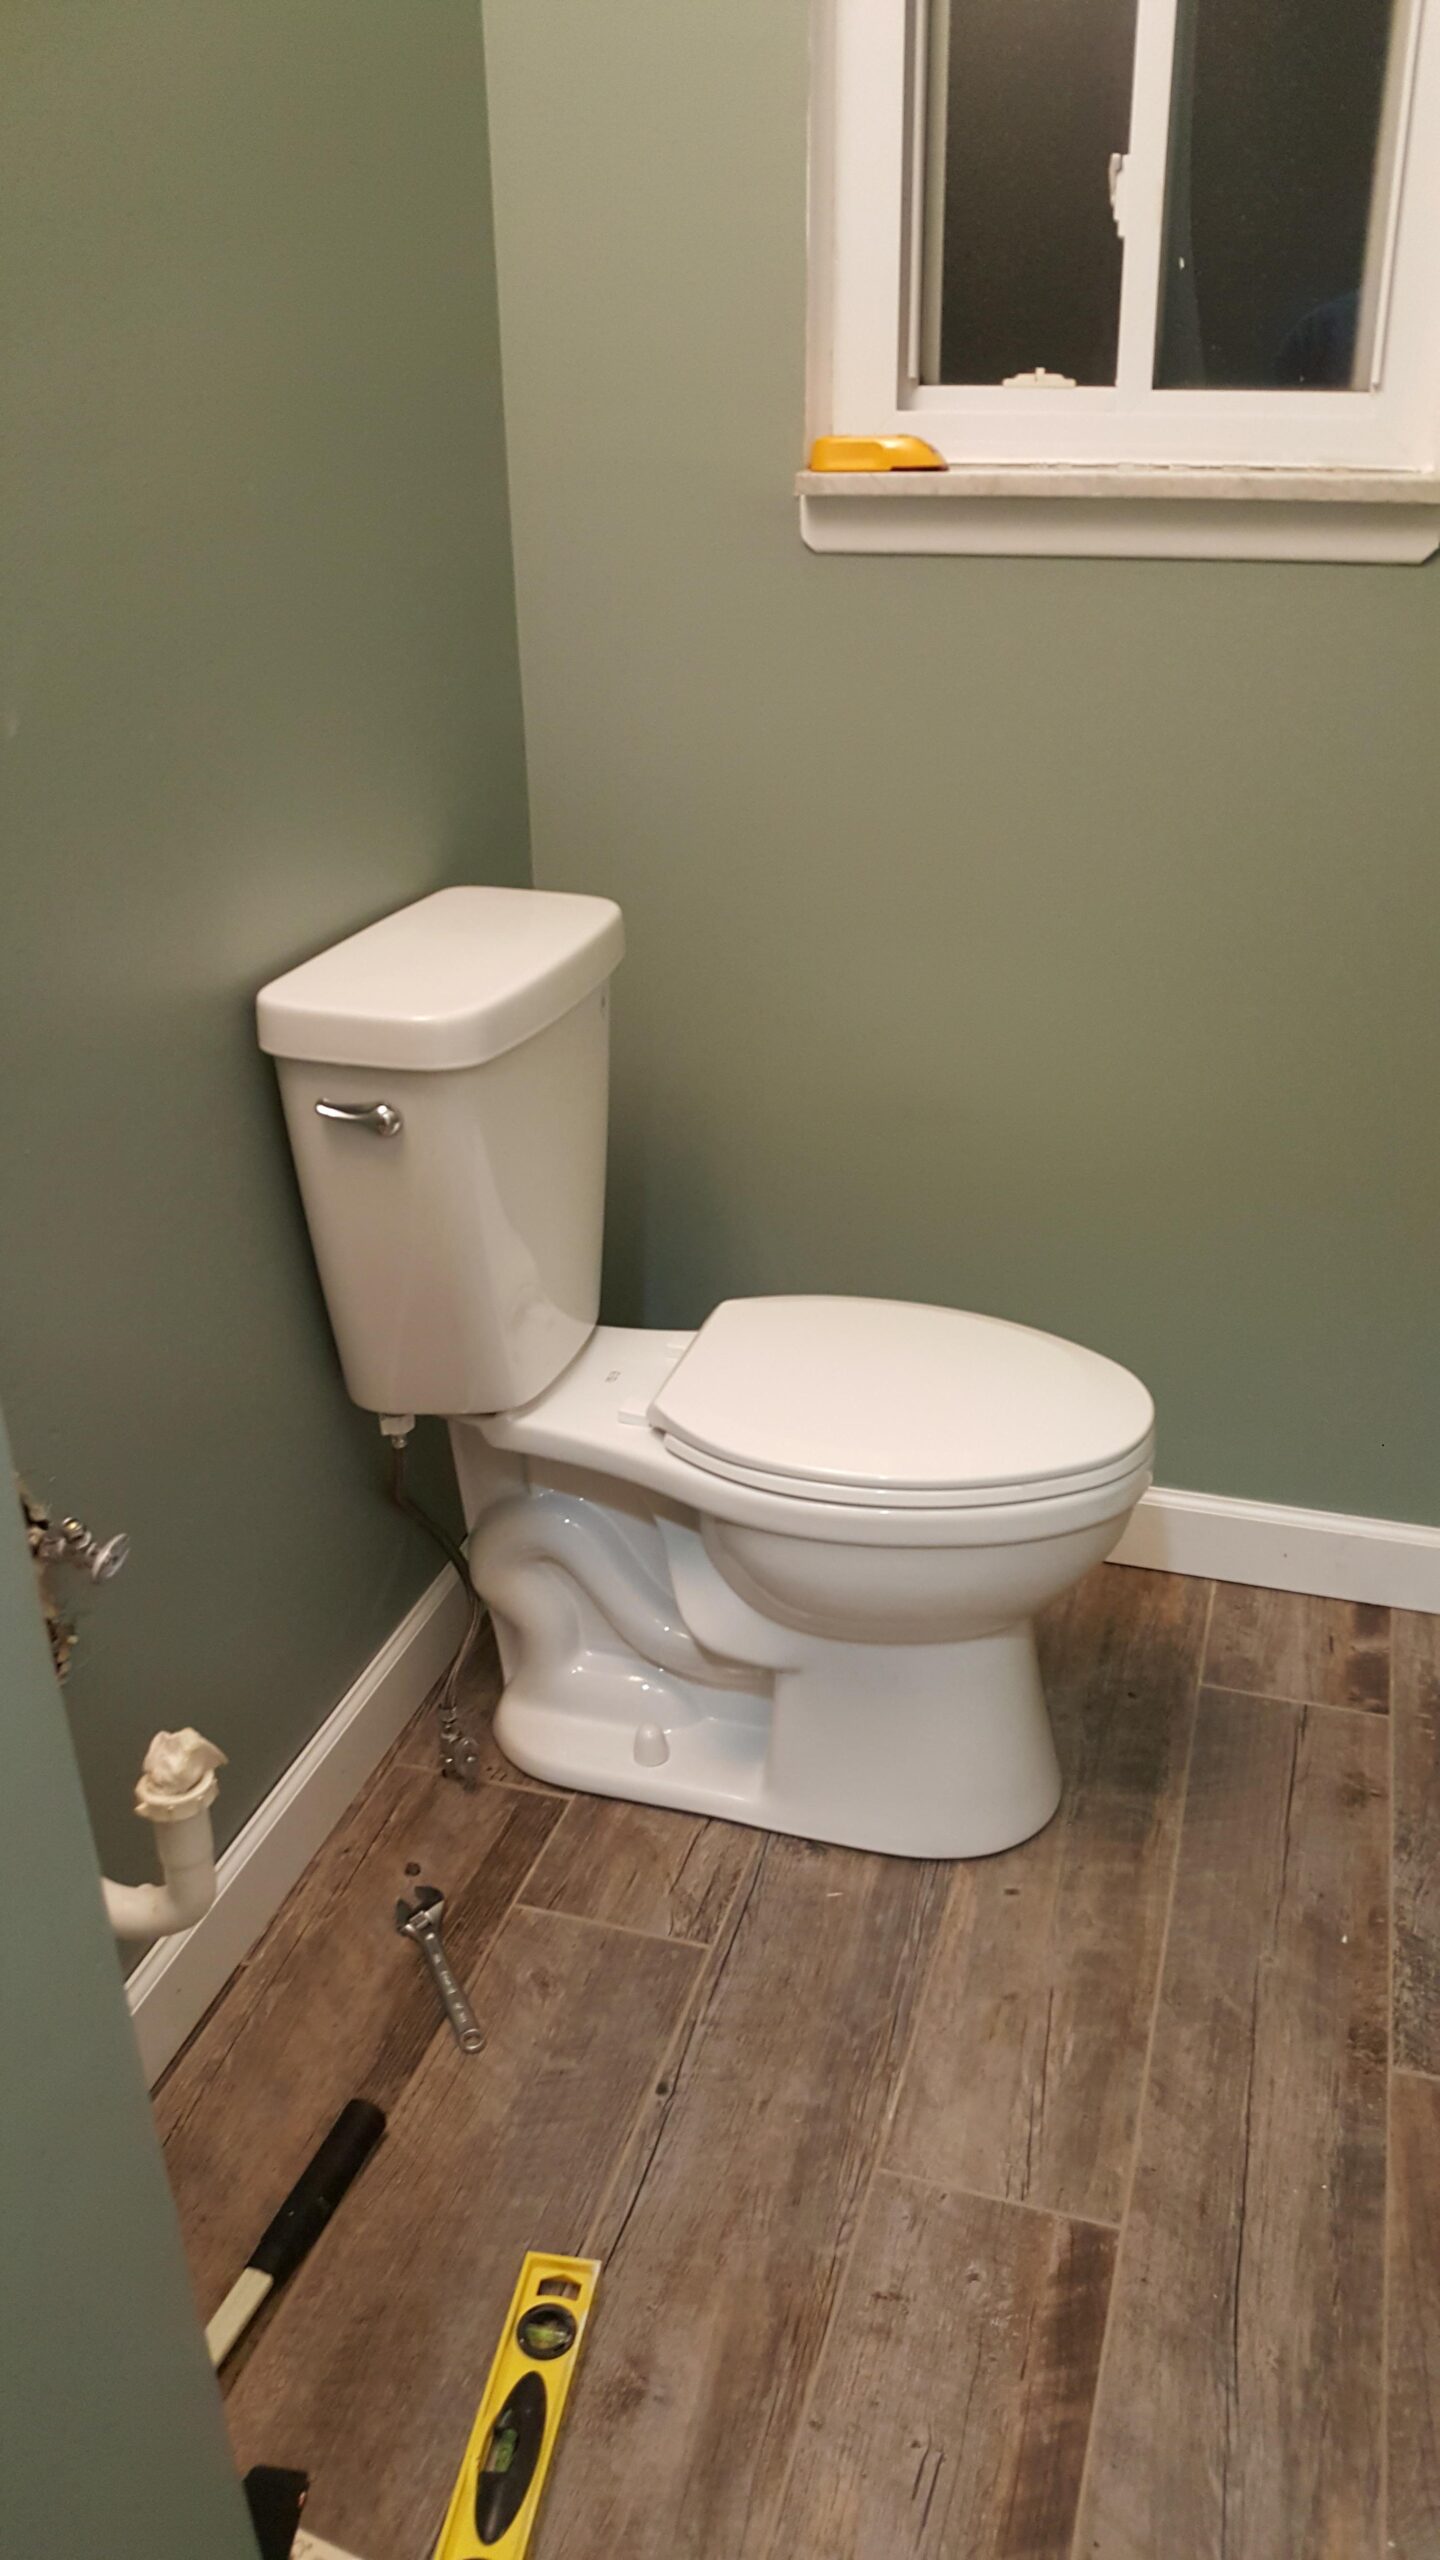
Step 0 — Start with the “after” (instant motivation)
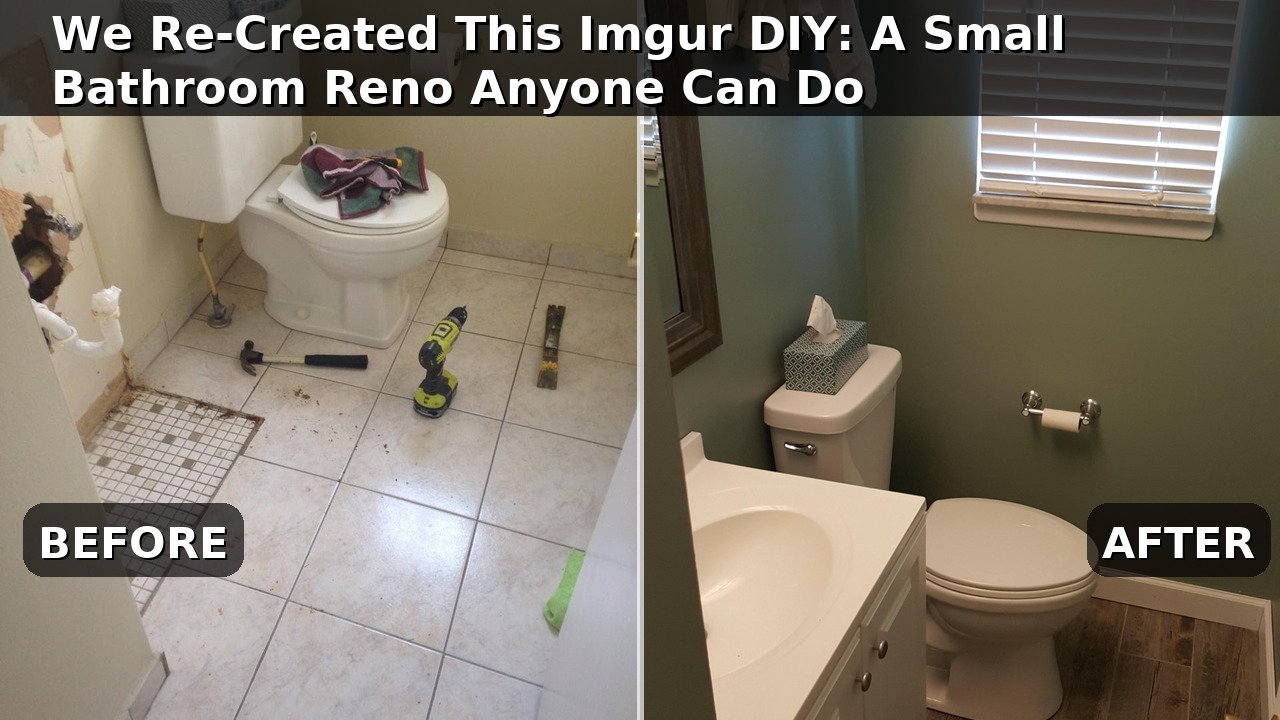
Small room, but fresh: sage-green walls, wood-look floor, compact white vanity.
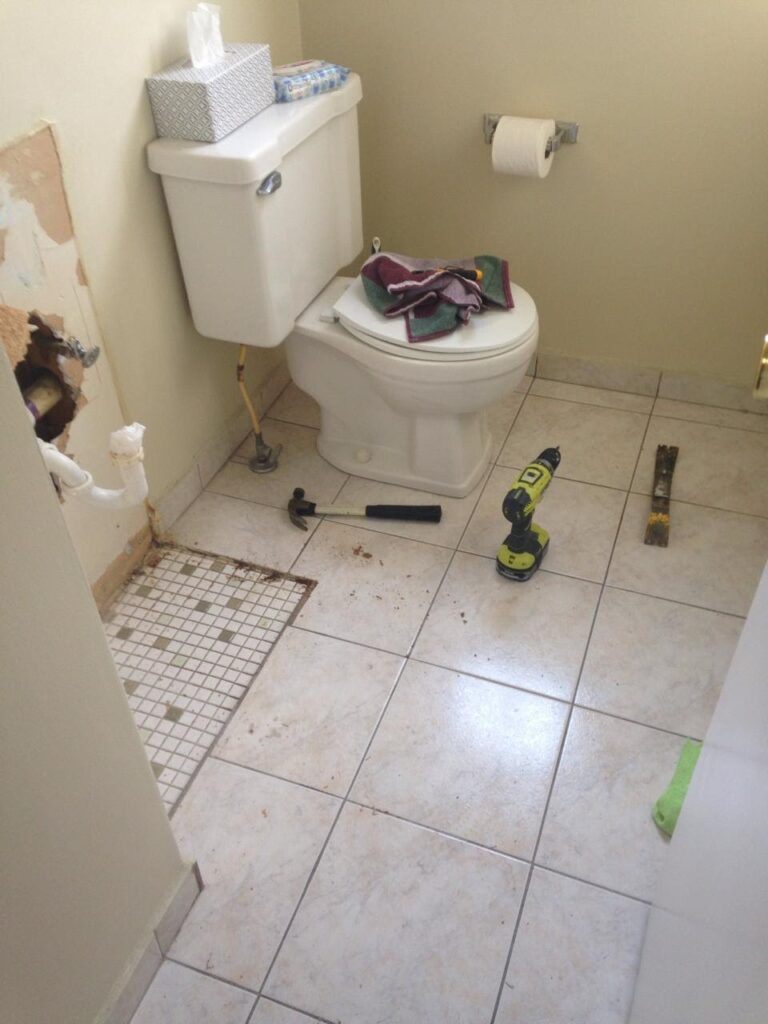
Step 1 — Before & the goal
Keep the layout. Replace the tired floor, repaint, swap in a slimmer vanity. Aim for “clean and cosy” without moving pipes.
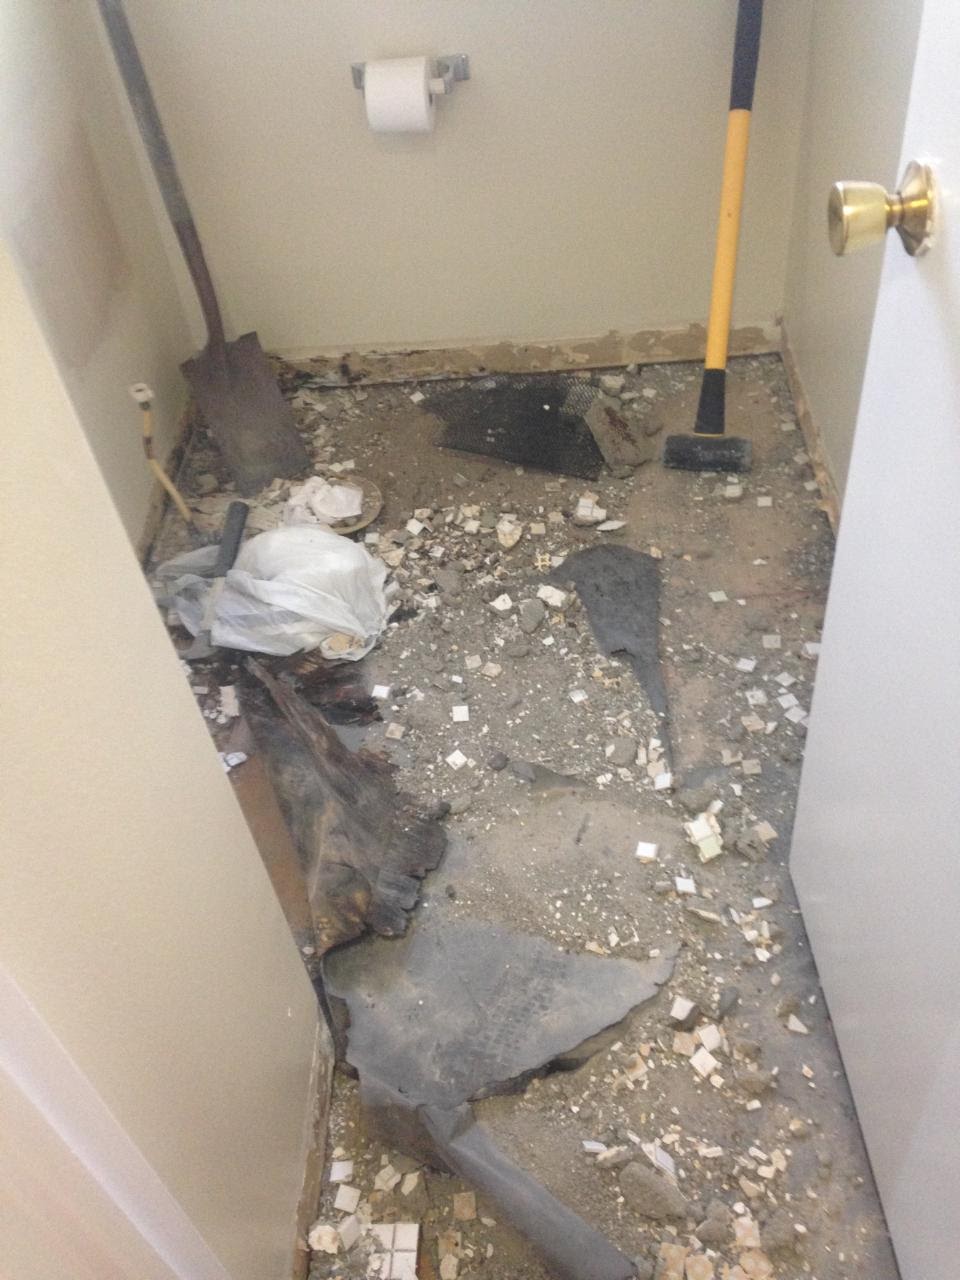
Step 2 — Lift the old floor (demo)
Score grout lines, pry up the old tiles, remove baseboards, bag debris as you go.
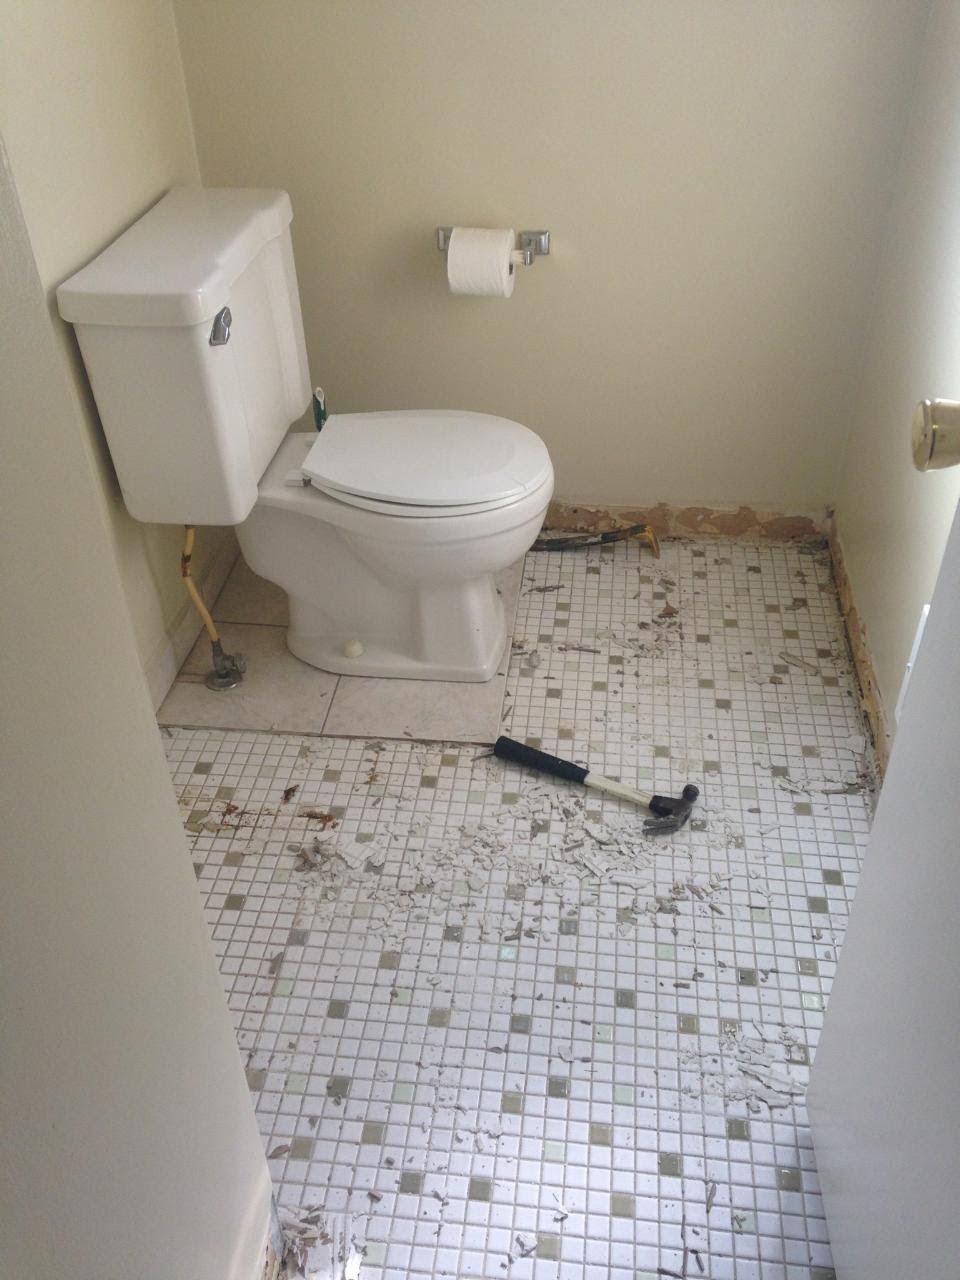
Story tip: If you’re nervous, leave the toilet in place and tile around it. For a seamless floor, remove it now.
Step 3 — Make the subfloor “honest”
Vacuum thoroughly. Add screws where it squeaks and patch low spots. Flat base = easy, good-looking tile.
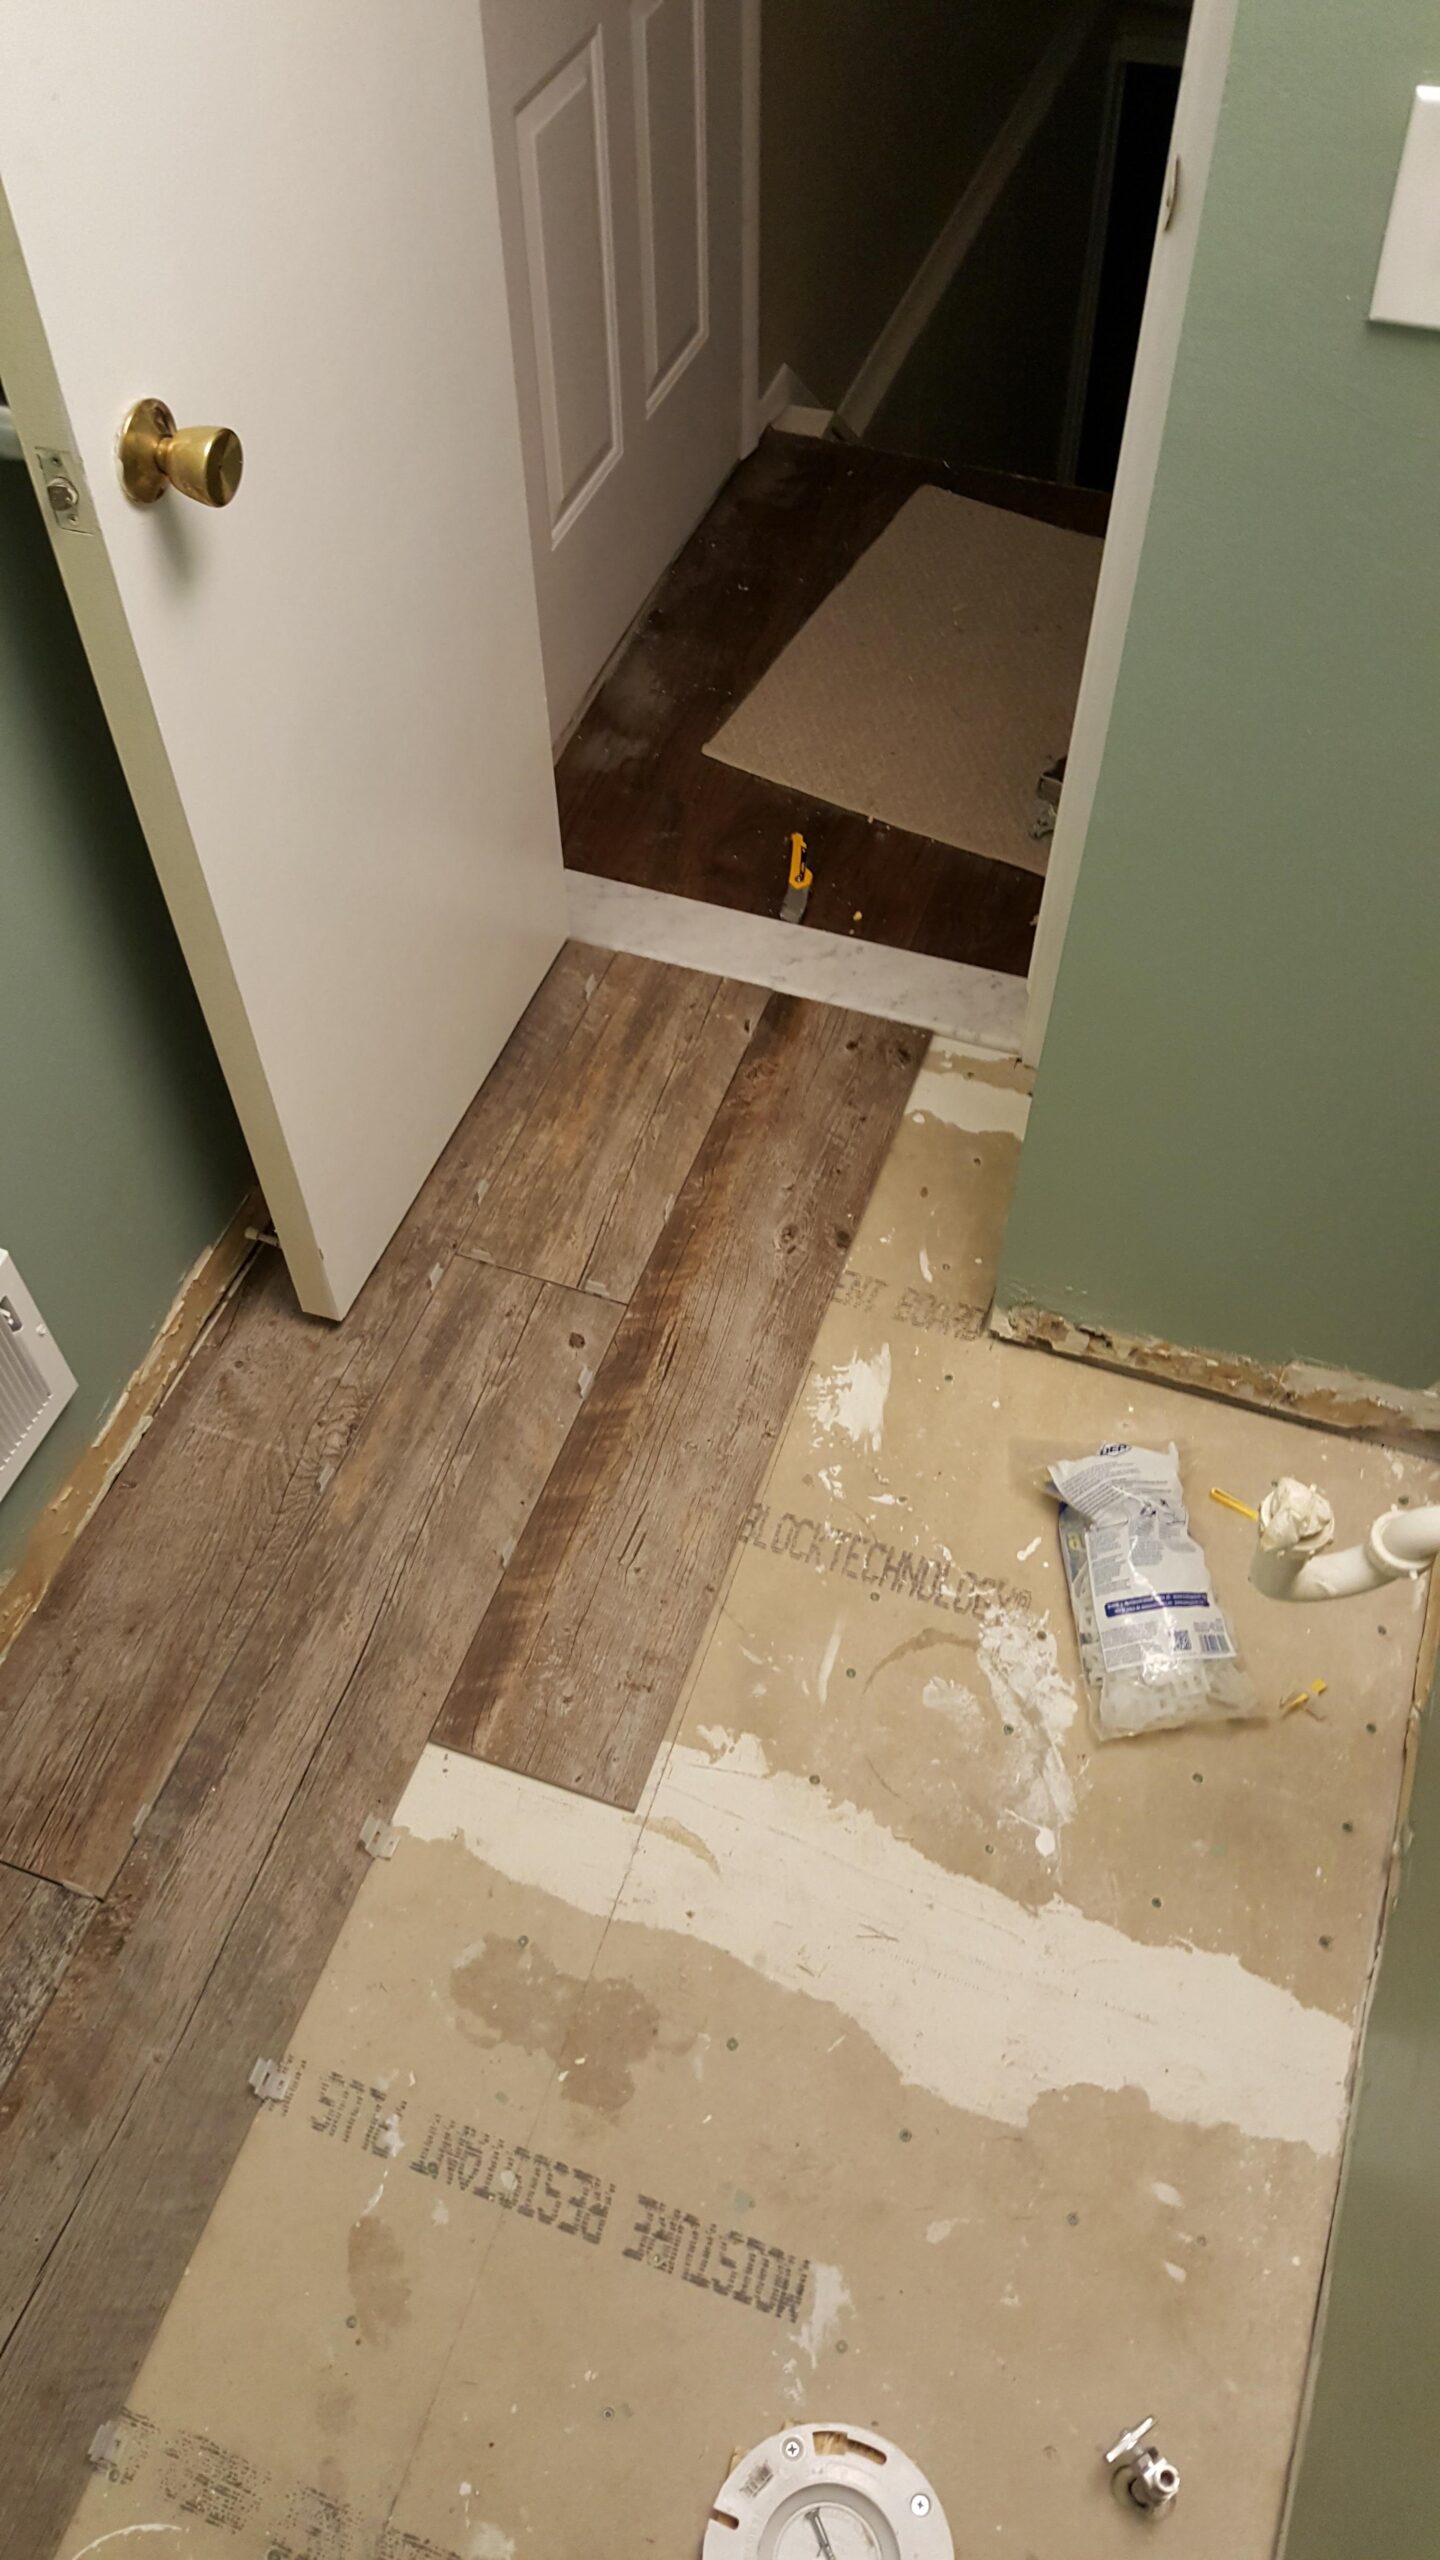
Step 4 — Install the backer board
Trowel a skim of thinset, lay cement board, screw it off in a grid, tape & mud the seams.

Step 5 — Dry-lay tiles & set the threshold
Test a few rows to pick your stagger and decide where cuts will land. Fit the marble saddle/threshold straight and centred—the first thing people see
Step 6 — Set the floor tiles (even and flat)
Spread thinset with a notched trowel, place tiles, and use spacers/leveling clips to prevent lippage. Work from the back of the room outwards so you don’t tile yourself in.
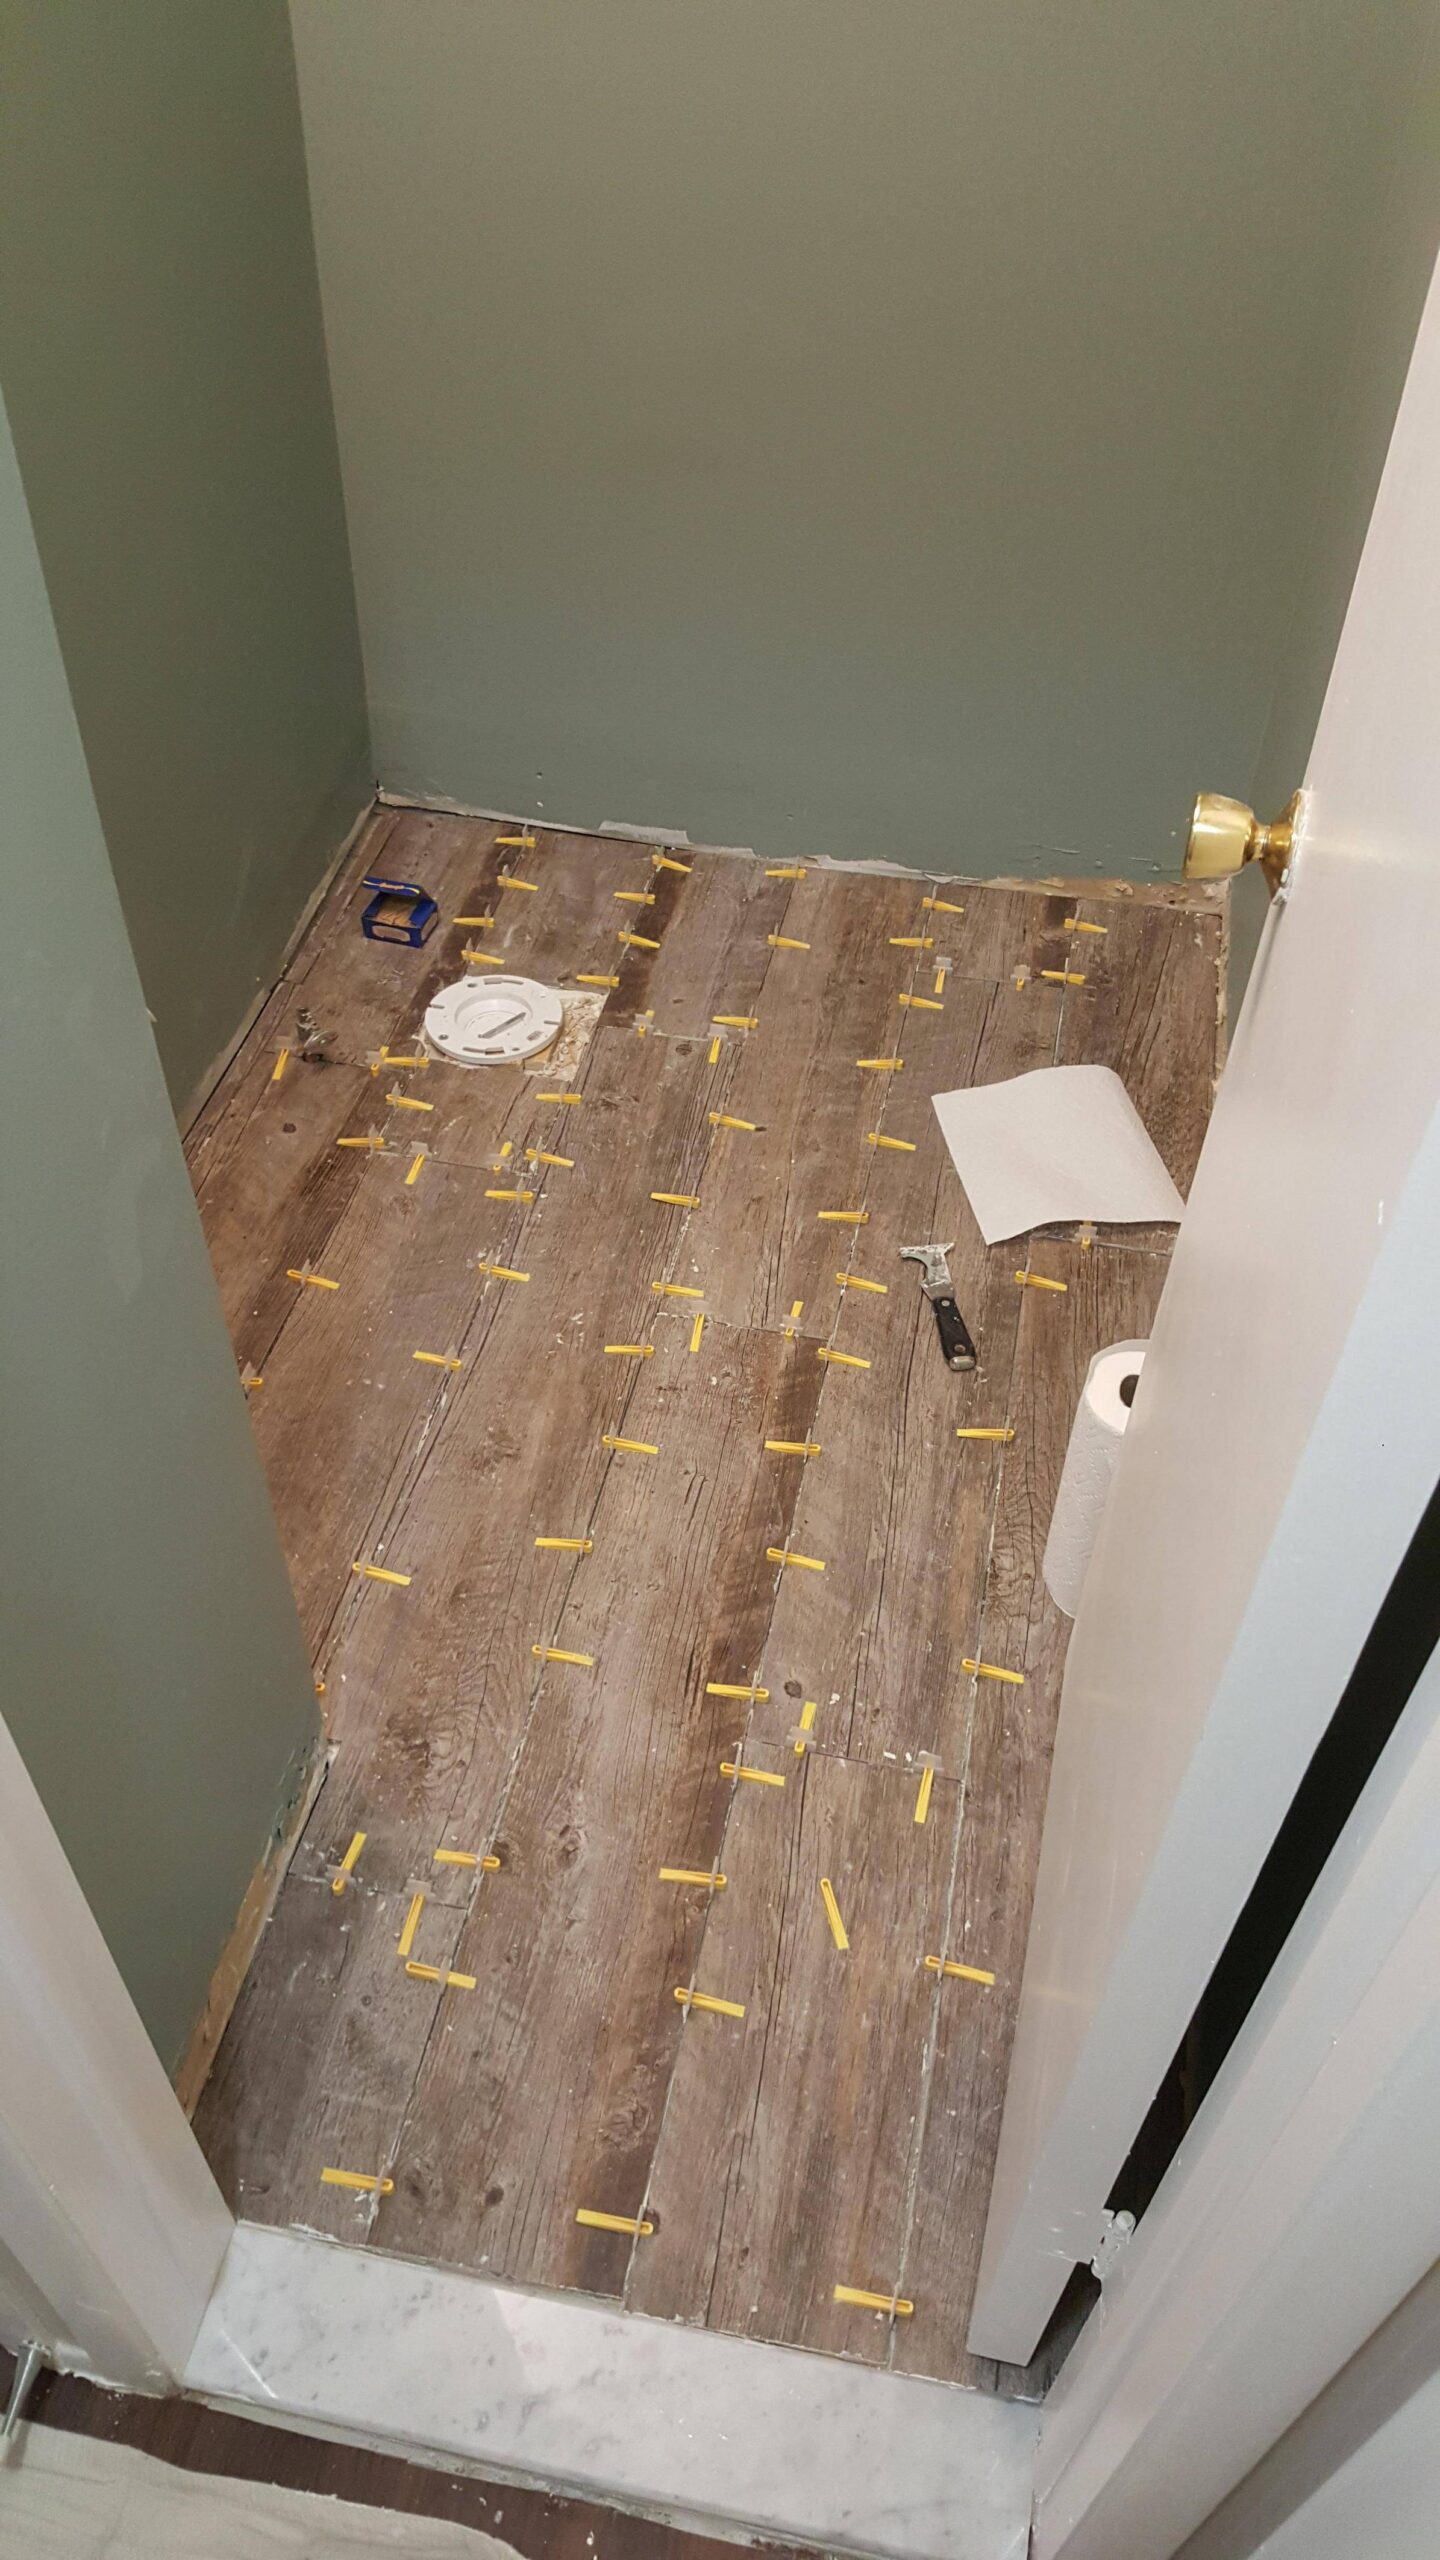
Lesson learned: Keep factory edges where they’re most visible; push cut pieces into less-seen corners.
Step 7 — Grout, seal, paint
After adhesive cures, grout the joints and wipe haze before it hardens. Seal if required. Paint walls/ceiling with mould-resistant paint.
Step 8 — Reset the toilet (fresh seal)
Drop a new wax/rubber ring on the flange, lower the toilet straight down, tighten bolts gently, fit a new braided supply hose and check for leaks.

Step 9 — Fit the vanity & top
Level the cabinet, fix to studs, bed the top with a neat bead of silicone, hook up the mixer and trap.
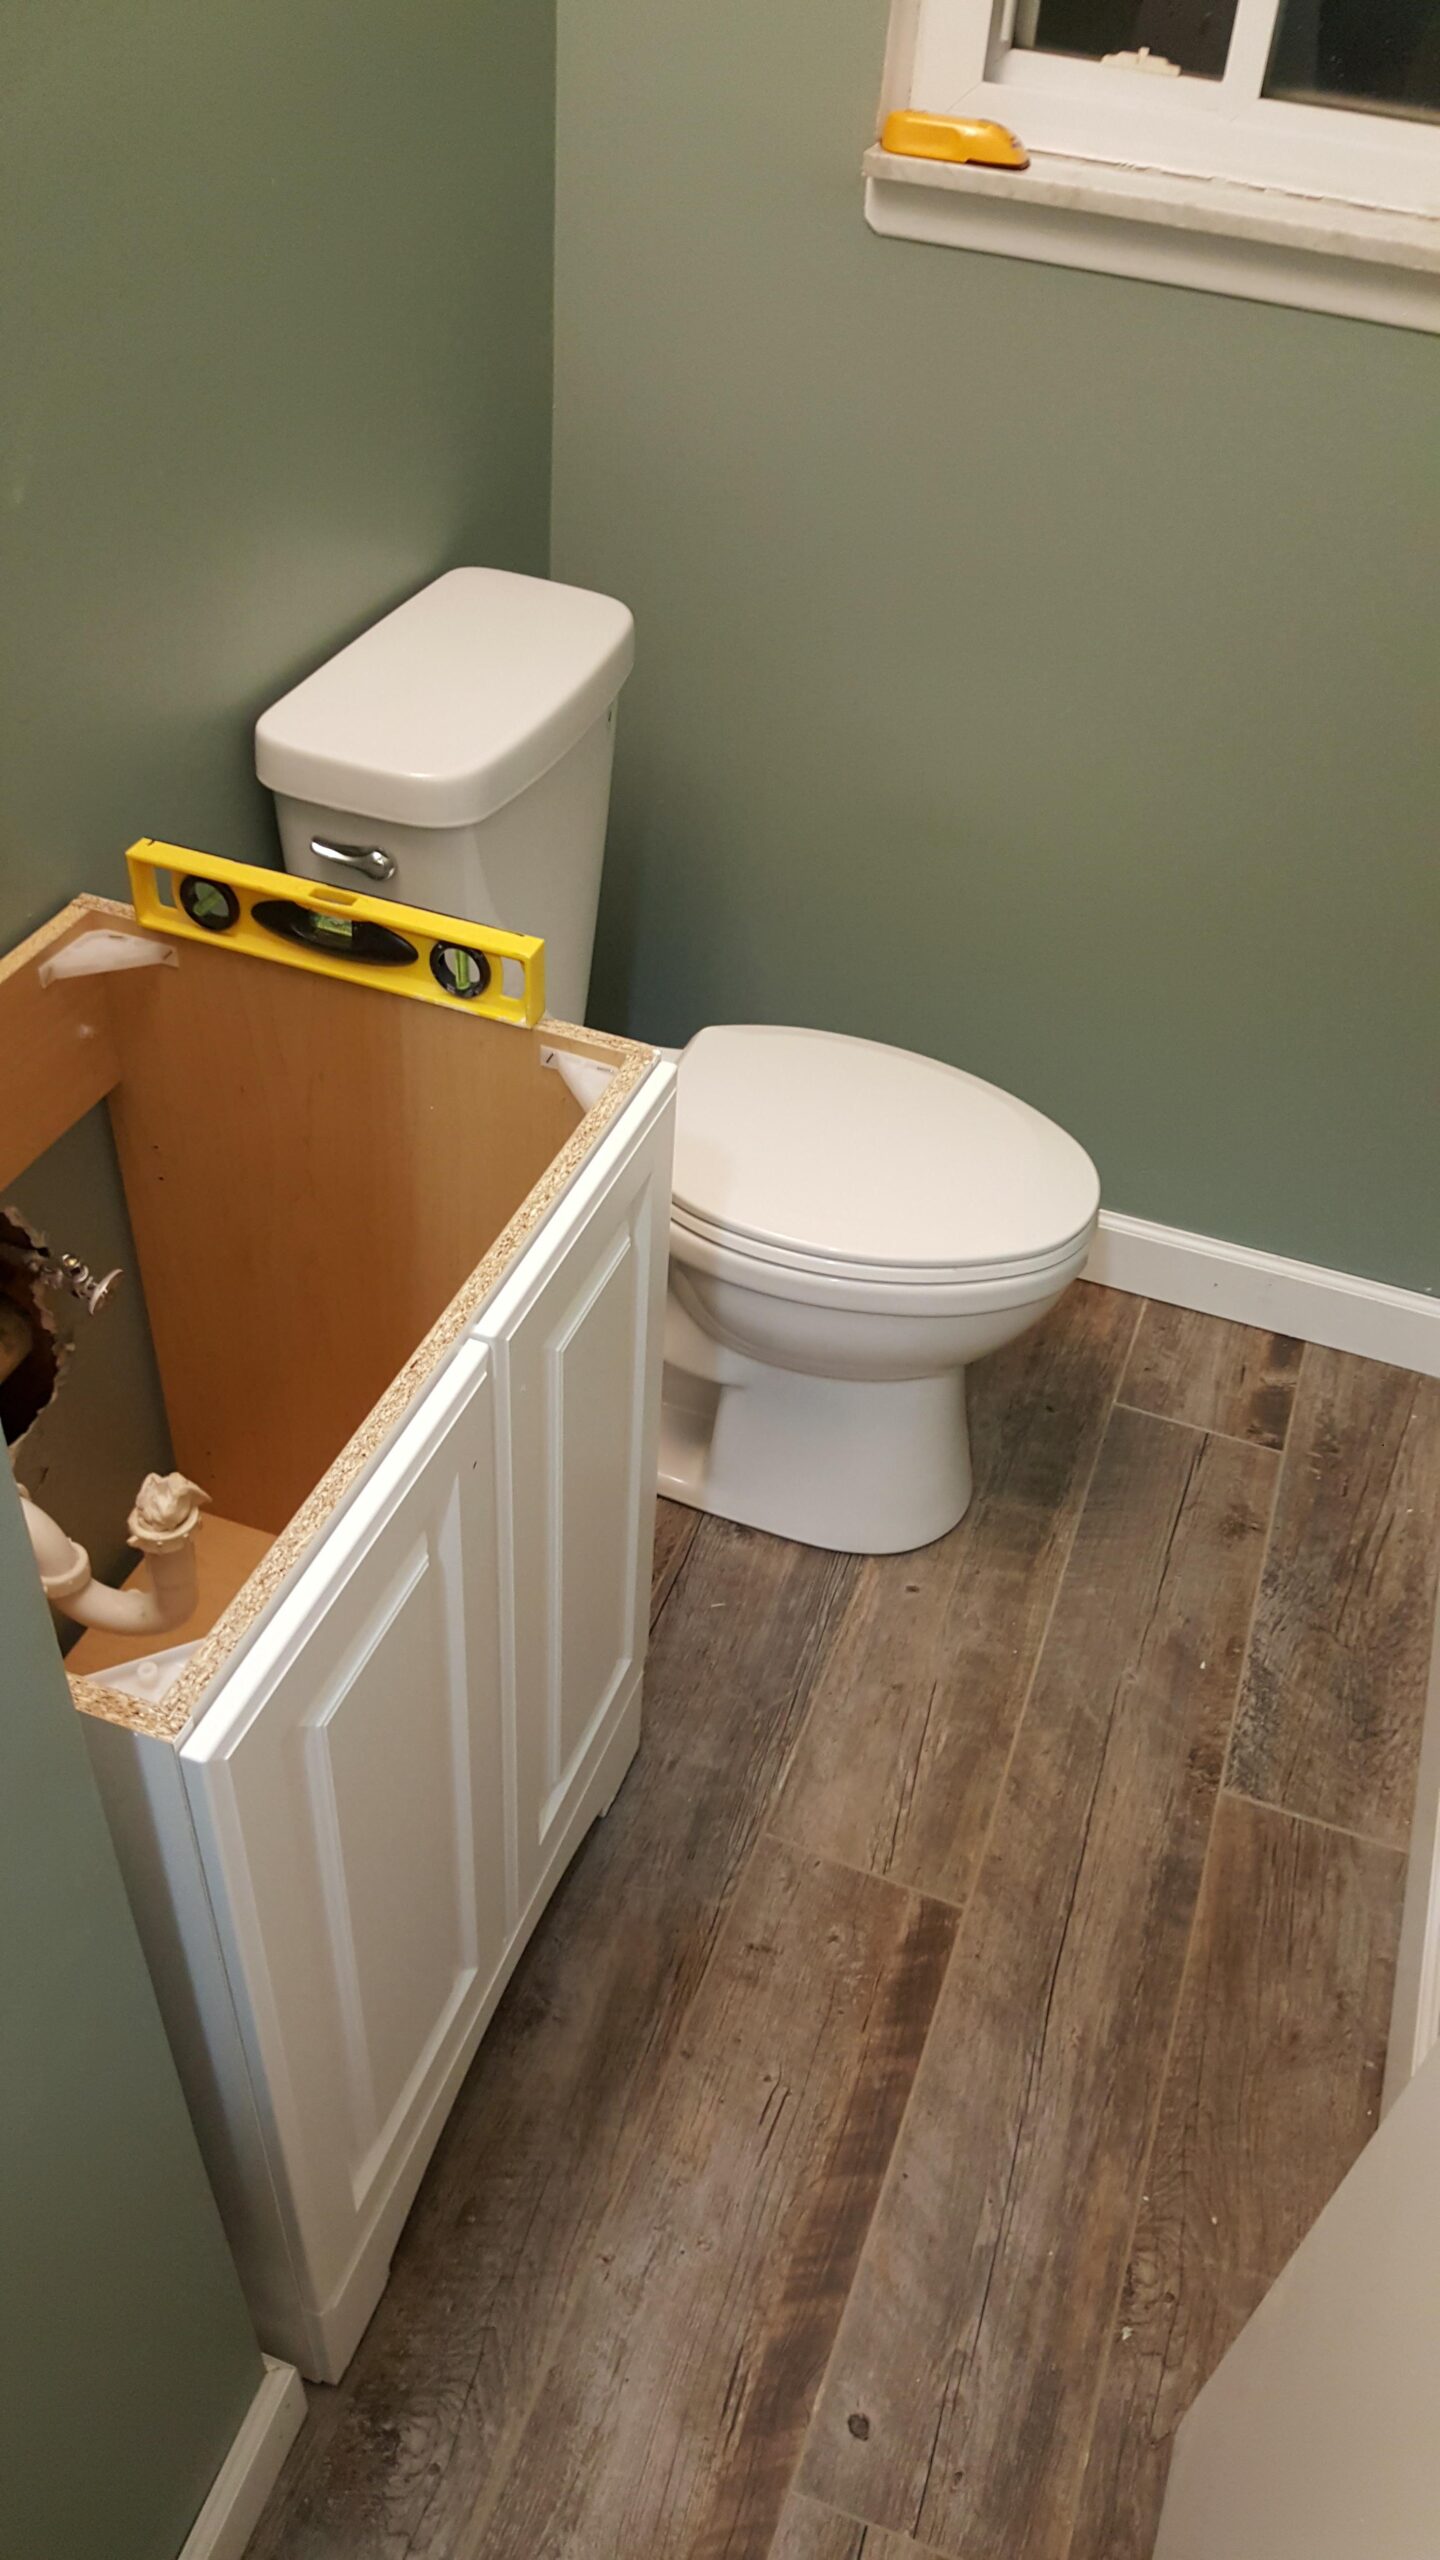
Step 10 — Finishing touches
Run clean silicone lines at tile/vanity/wall junctions, reinstall baseboards, hang mirror/shelf, quick tidy—and take the “after” shot.

4) Small-space tips from the original story
Level and flat do most of the heavy lifting: subfloor → backer board → first tile row.
- Backer board is worth it: fewer cracks, no hollow sounds, long-term durability.
- Do the threshold early and do it right: it’s the first detail every visitor sees.
- Swap shut-off valves and supply line while you’re there—cheap peace of mind.
Silicone like you mean it: a thin, even bead makes the whole room look sharper.
Conclusion
A first bathroom renovation doesn’t have to be epic—or expensive—to feel like a real upgrade. Keep the layout you’ve got, focus on a solid base (flat subfloor + backer board), set the tiles straight, and finish clean with silicone. Most of the magic comes from steady, simple steps—and a little patience.
Biggest takeaways:
- Flat and level at every stage = a pro-looking result.
- Do the threshold early; it’s the first detail everyone notices.
- Swap in a compact vanity and fresh paint to make a small room feel bigger.
- Leave electrics (and any plumbing you’re unsure about) to a licensed pro.
Credit to the original creator for the inspiration—this re-share just slows things down and adds the “how.” If you follow the photo steps above, you’ll have a bathroom that feels calmer, cleaner, and truly yours. Save the checklist, bookmark this guide, and when you’re done, share your before/after—we’d love to see what you build.
Leave a Reply