I’m sharing a DIY stair remodel I loved: carpet to hardwood treads, clever hidden fasteners, code-aware dimensions, and practical tips from the builder’s comments.
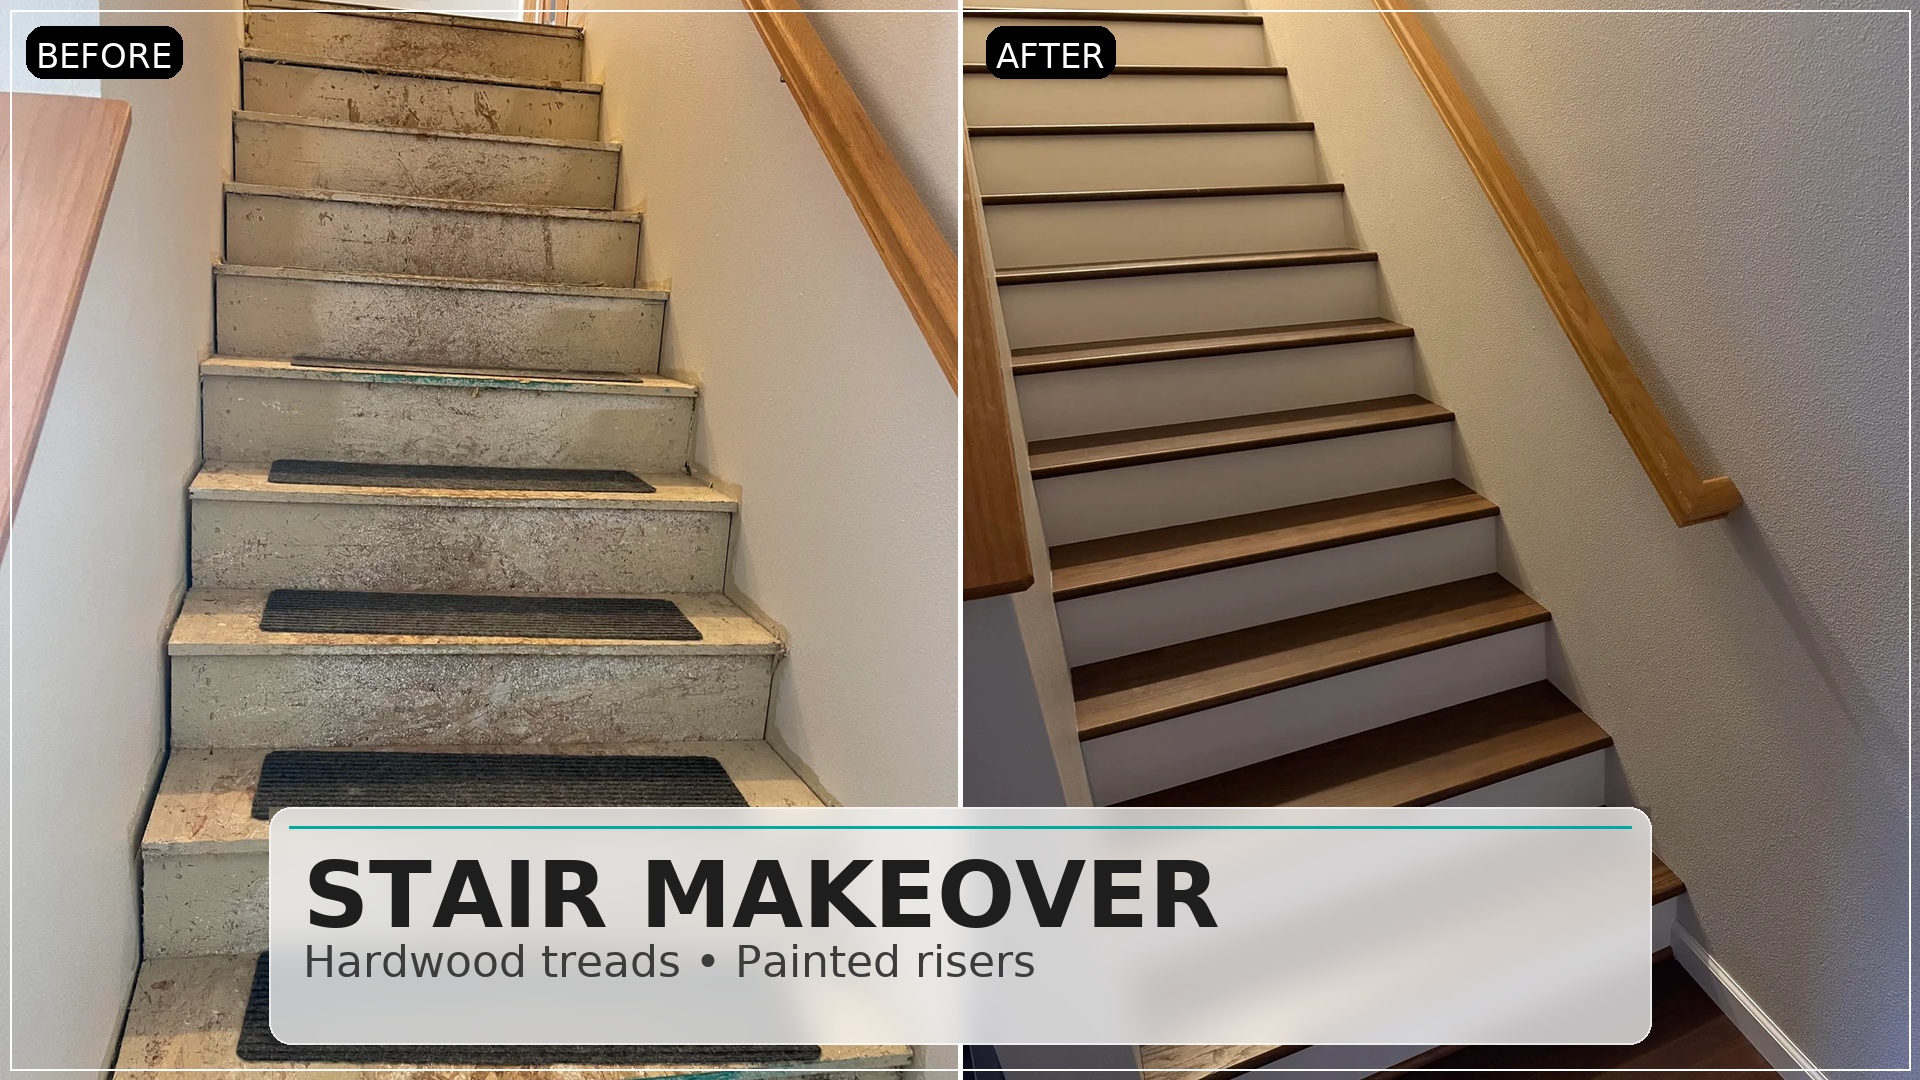
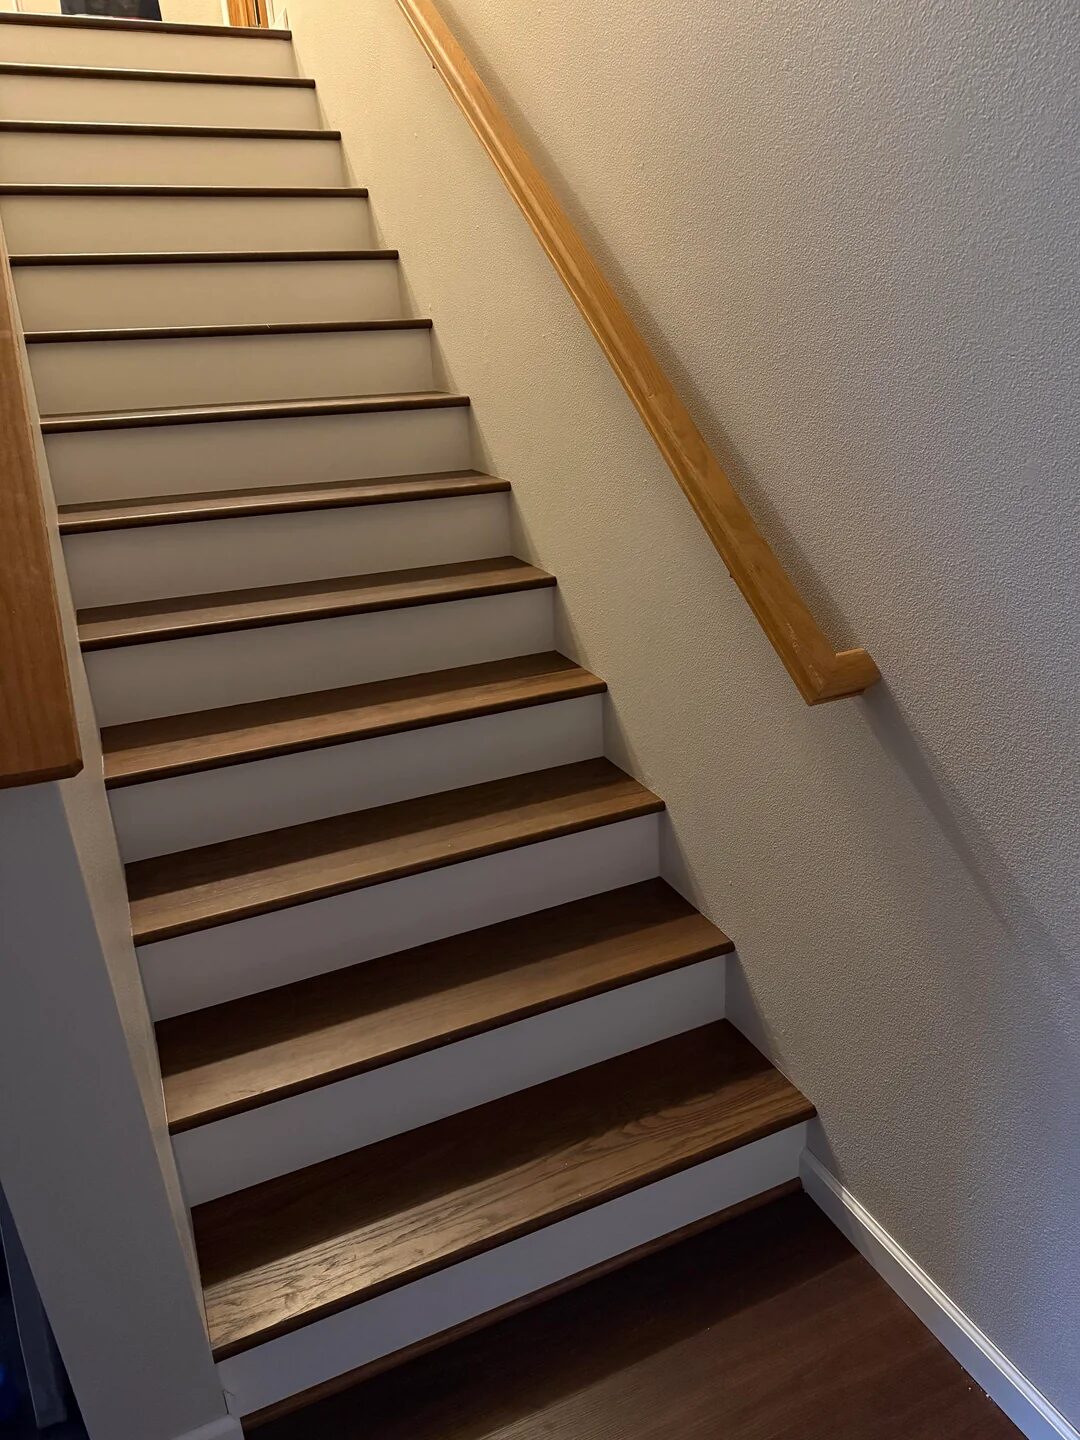
I came across a great DIY stair project on r/DIY and had to share it here. The homeowner (u/Djnick01) pulled up carpet, installed hardwood treads, and ended up with a clean, modern staircase. He admits he’d do a few things differently around the landing trim, but overall he’s happy with the result—and I can see why.
What makes this project useful
1) A realistic win, not “Pinterest perfect.”
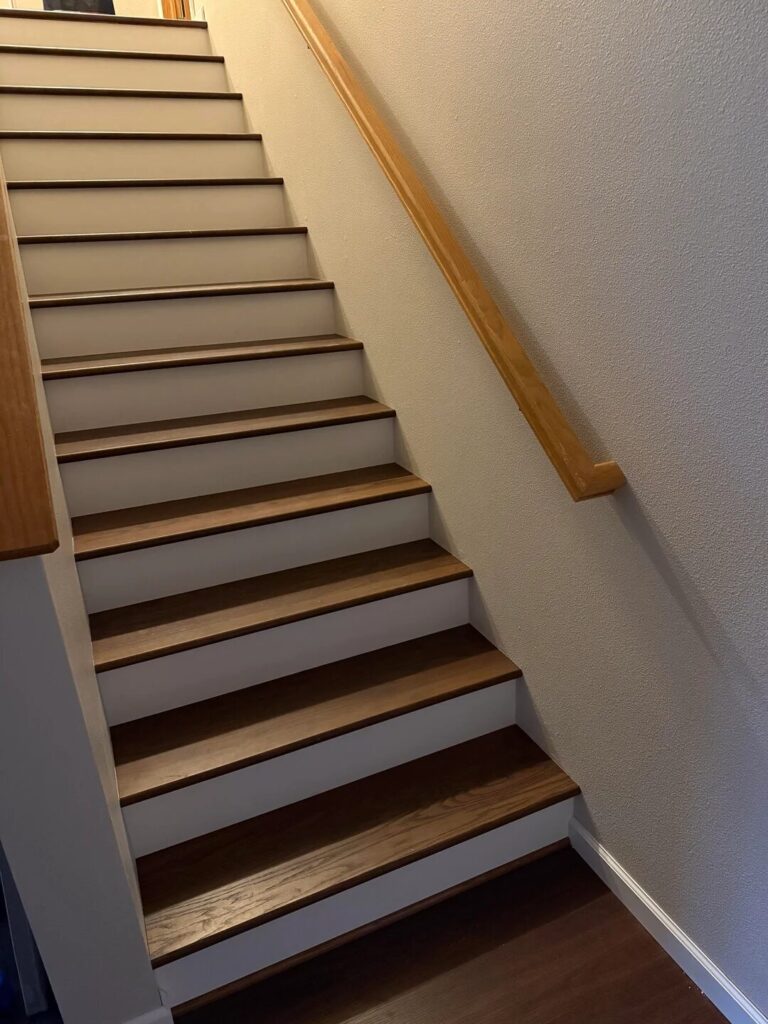
The stairs look sharp, yet the builder is transparent about minor trim compromises around the landing. That honesty makes the project more useful for the rest of us—especially if your staircase has odd corners or tricky transitions. He even posted an extra angle in the comments to show details more clearly.
2) Smart materials and sourcing.
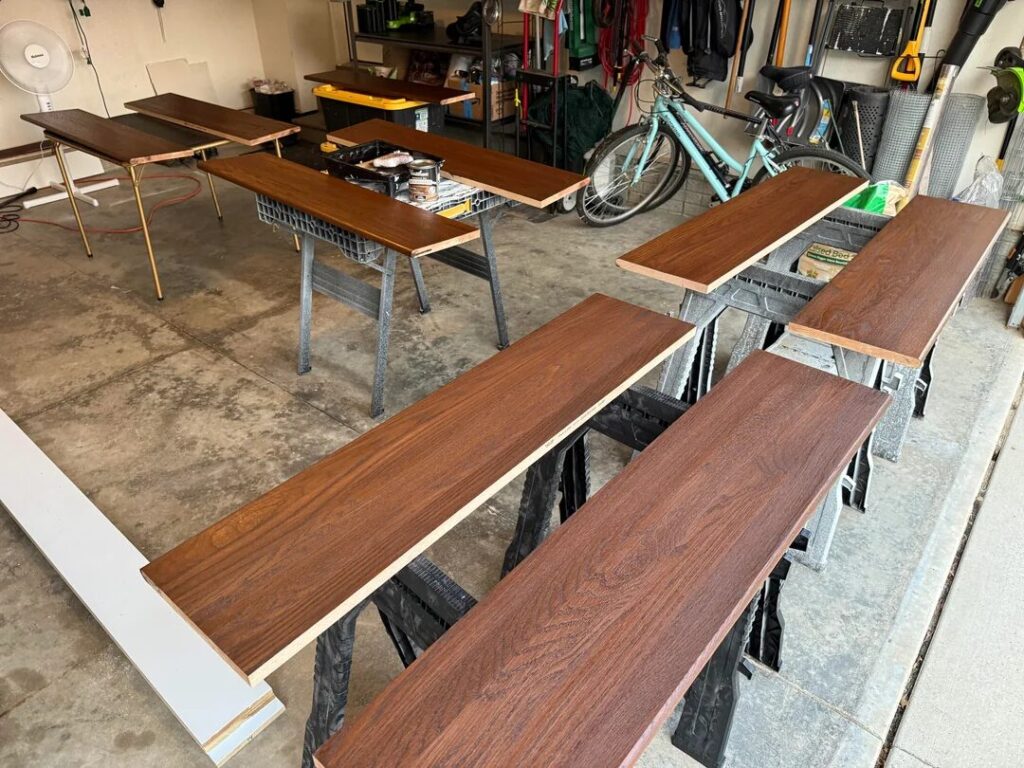
He chose solid hardwood treads that cost about $70 per step from a local lumber supplier—more than big-box “budget” options, but thick and stable enough to avoid subtreads (and the quality difference shows).
3) A practical attachment method.
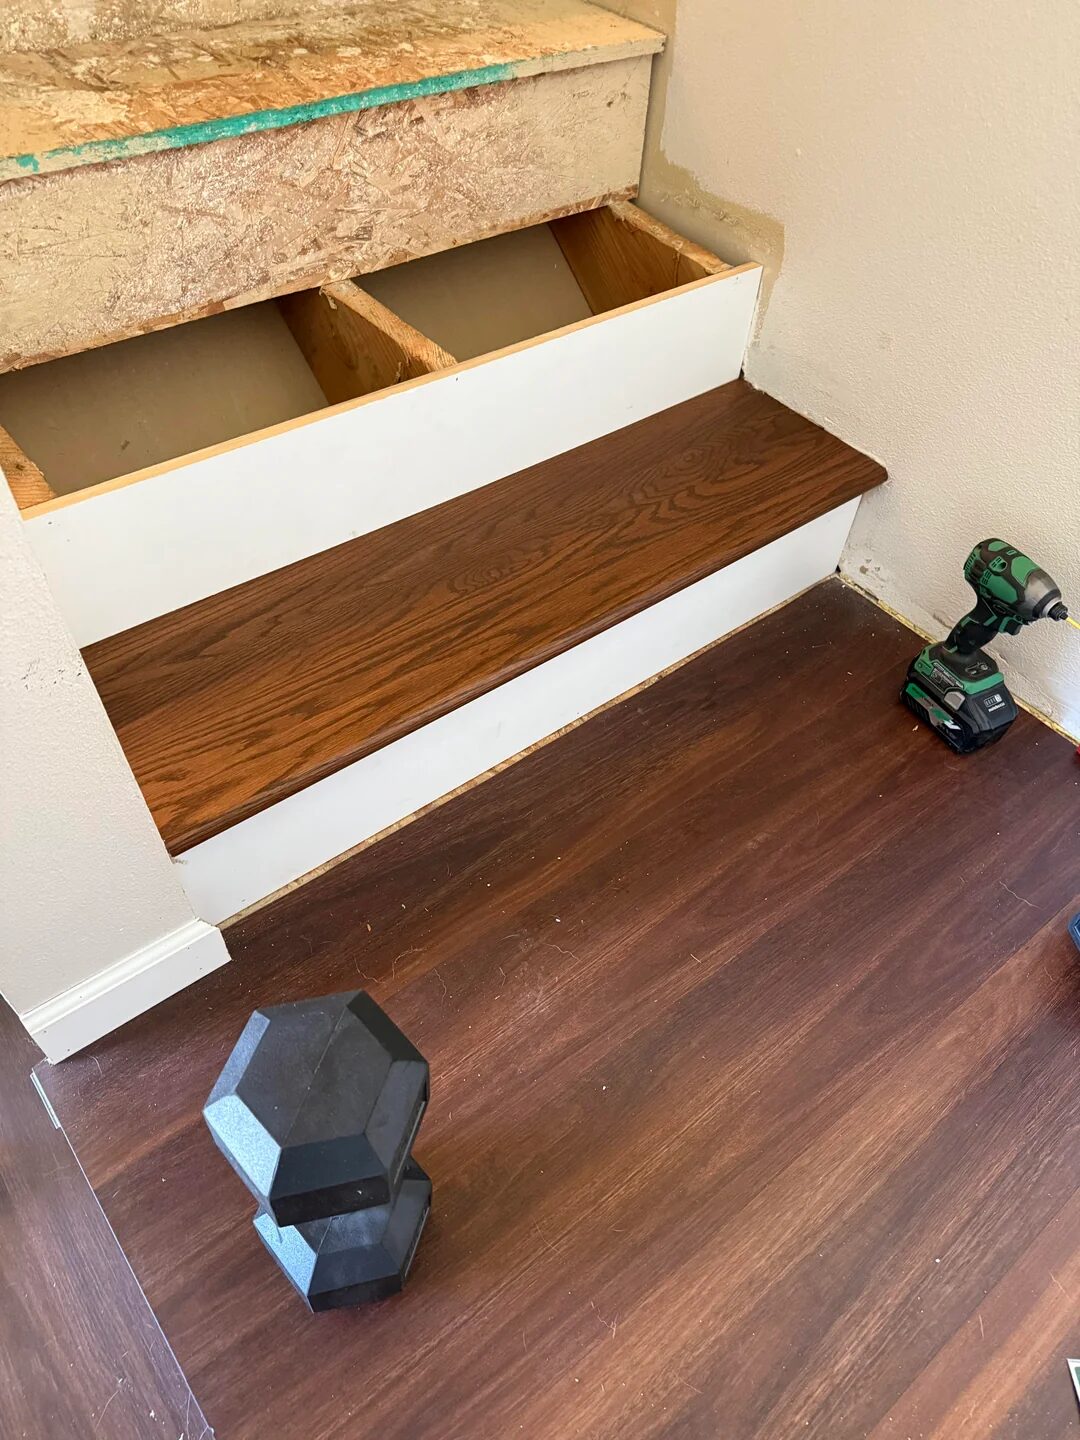
Installation combined Loctite PL Max Premium adhesive with screws driven from behind the risers (so no visible fasteners on the tread surface). He even linked the exact type of self-tapping screws and the YouTube tutorial he followed.
4) Code awareness, not just cosmetics.

He highlighted a crucial point many DIYers overlook: tread thickness and added layers change overall stair geometry. Slapping on a subtread can push your bottom riser too high and top riser too low, which is both a code problem and a tripping hazard. Choosing thicker treads helped him keep deflection down without altering riser math.
5) Real-world timeline and tradeoffs.
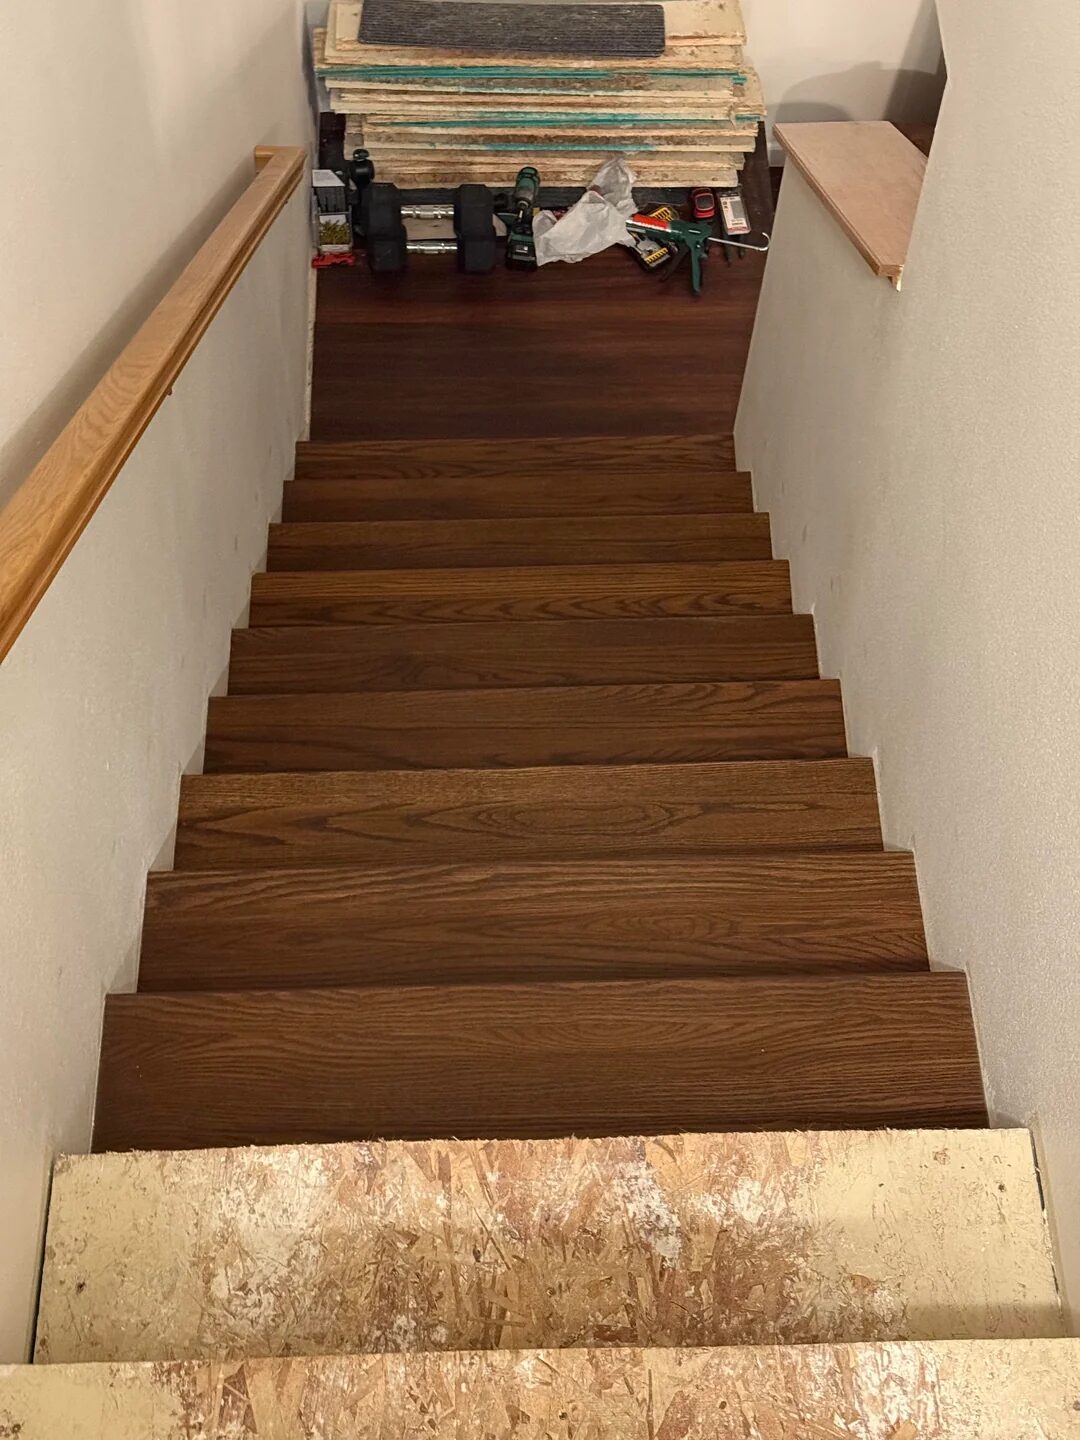
This wasn’t a weekend miracle. He lived with bare plywood for over two years between tearing out the carpet and installing the hardwood—partly budget, partly motivation. That’s relatable, and it’s a good reminder to pace big DIYs.
6) Safety in daily use.
Commenters called out slipperiness on finished wood. His household typically wears shoes or slides indoors, and others suggested traction options. If you have kids or older family members at home, add grip where needed.
Cost & materials snapshot
- Hardwood treads: ~$70 each; sourced from a local lumber supplier (better quality than big-box budget lines, according to the OP).
- Thickness: about 1-1/32″—sturdy enough that no subtread was necessary.
- Adhesive & fasteners: Loctite PL Max Premium, plus self-tapping screws driven from behind the risers.
Installation approach (high level)
- Dry-fit and measure carefully. Even small changes affect riser height and tread depth; stay within your local code.
- Adhesive layer: Apply PL Max Premium generously to bond tread to the stringers.
- Hidden screws: From the backside of each riser, drive self-tapping screws into the tread so the walking surface stays clean.
- Landing and trim: Expect extra time here. Irregular corners and stair-nose transitions can take patience to dial in—plan your miters before you cut.
What I’d borrow for my own project
- Go thick on treads to reduce flex and avoid adding layers that throw off riser heights.
- Use hidden fasteners (adhesive + screws from behind the riser) for a cleaner finish.
- Budget realistically and be okay with a phased timeline; it’s normal for big DIYs to stall while you save or regroup.
- Plan for traction if your household is sock-only; add stair treads/runners or anti-slip strips as needed.
Quick checklist
- Measure existing rise/run; model how new tread thickness will change it. Don’t create a tall first riser or short last riser.
- Source quality treads (local lumber yard if you can) and confirm thickness.
- Stage tools and supplies: adhesive, self-tapping screws, cutting/finishing gear.
- Dry-fit and mark your landing/trim pieces before final cuts.
- Add grip where appropriate (runners, anti-slip) for everyday safety
Credit & source
All photos, build notes, and comment insights come from the original Reddit post by u/Djnick01: “It’s not perfect but the job is done.”
Local building codes vary. If you’re unsure about structural changes, stair geometry, or finish systems, consult your local code and a qualified pro before you start.
Leave a Reply