I spotted a great DIY build on Imgur and loved how clear the photos were, so I’m resharing the project here — but with a more detailed, step-by-step guide you can actually follow at home. Credit to the original creator for the build and images; I’ve simply organised and explained the process in plain English. (For electrics or gas, please use a licensed pro — US: GFCI outlets, UK: RCD-protected circuits.)
What You’ll Use (kept simple)
- Metal wall framing (light-gauge metal studs + track) and self-drilling screws
- Cement board (e.g., USG Durock) and cement-board screws
- Stainless doors/panels (access doors, pull-out bin, etc.)
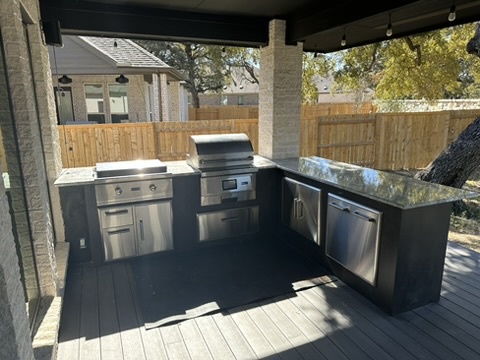
- Countertop stone (granite/quartzite; templated and installed by a fabricator)
- Face cladding (porcelain/stone tiles) + outdoor tile adhesive & grout
- Appliances: flat-top griddle and pellet grill (or your choice)
- Essentials: tape measure, spirit level, drill/driver, clamps, spacers, neutral-cure silicone
Tip: The only “specialist” bits are stone, electric and gas — get pros to handle those. Everything else is measure, cut, screw, and glue.
Step-by-Step (with photo placement)
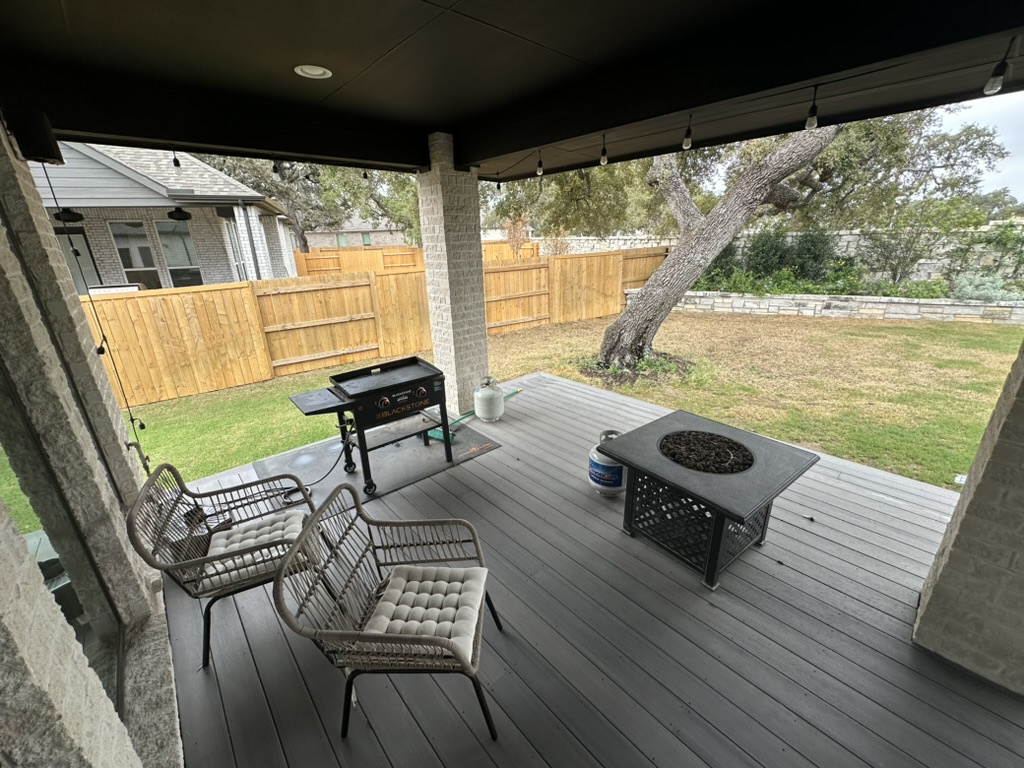
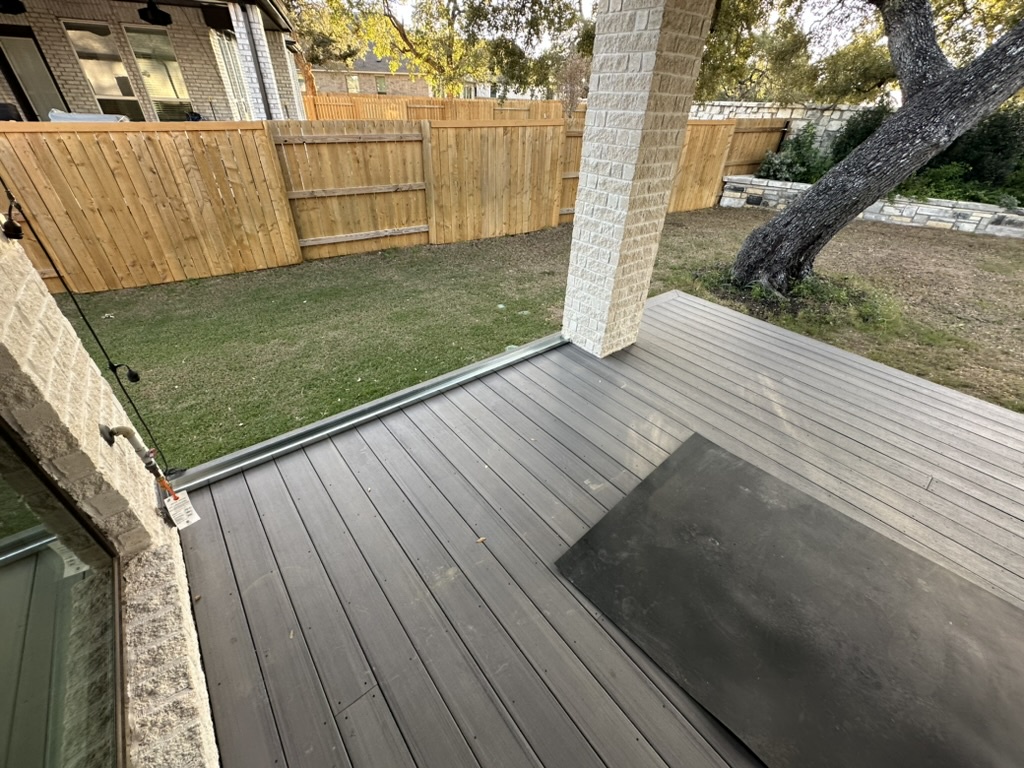
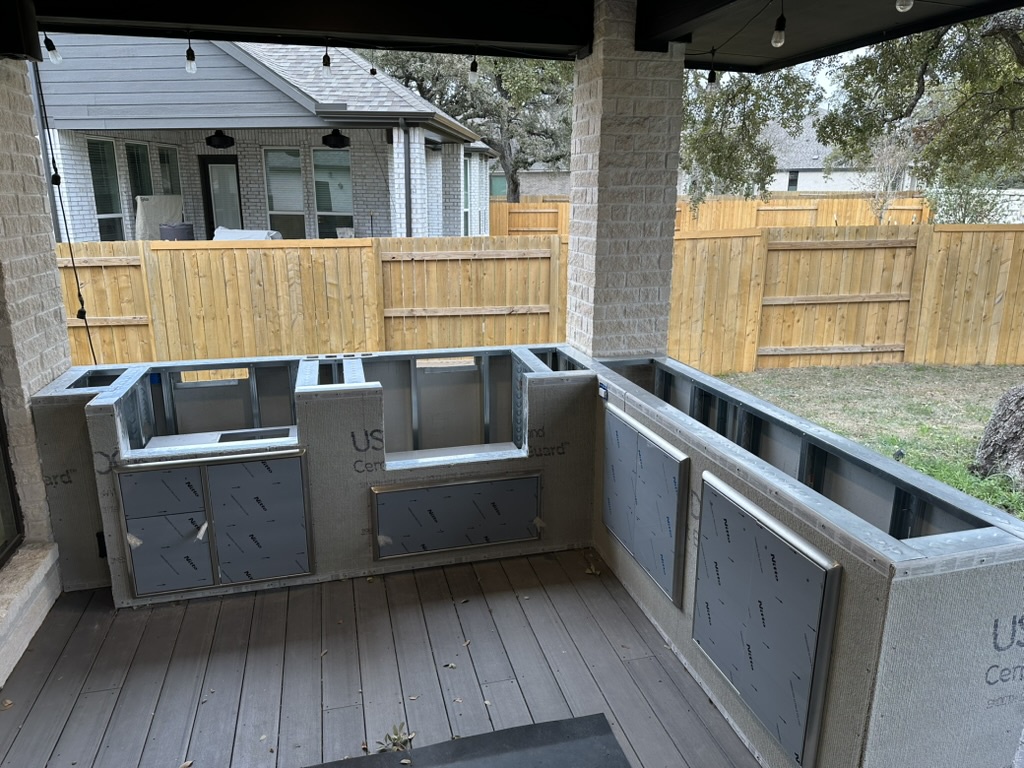
1) Mark the Space & Choose the Layout
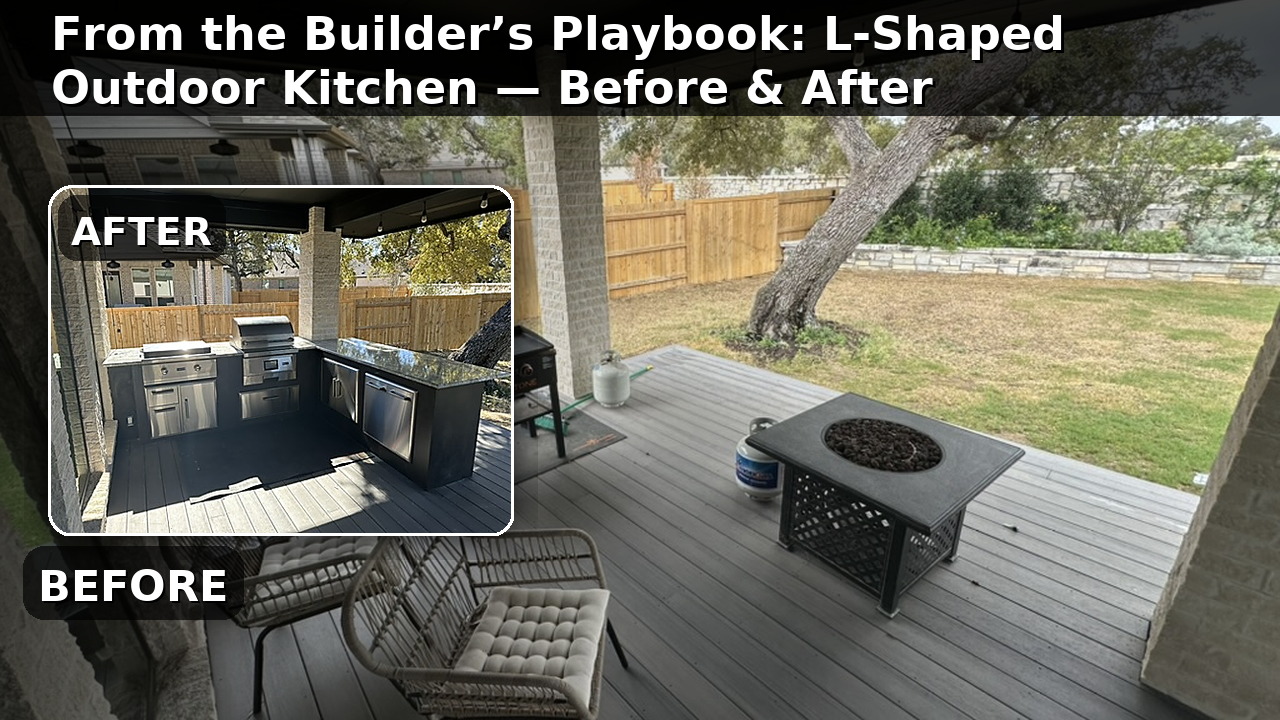
Sketch an L-shape that hugs the post: short leg = cooking, long leg = prep/serving. Tape the outline on the deck so you can see walking room and bar overhangs.
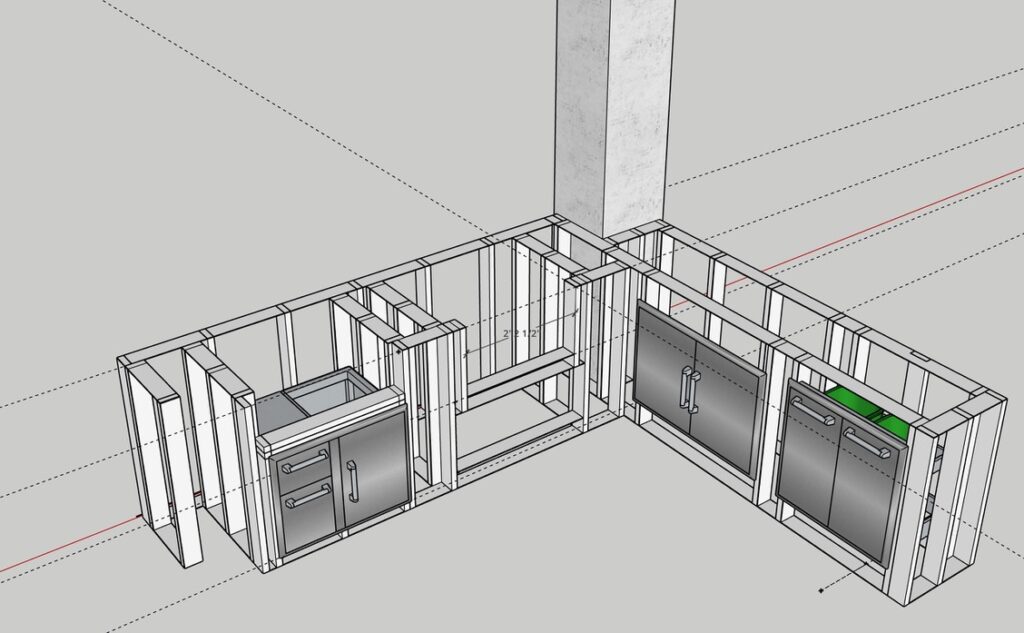
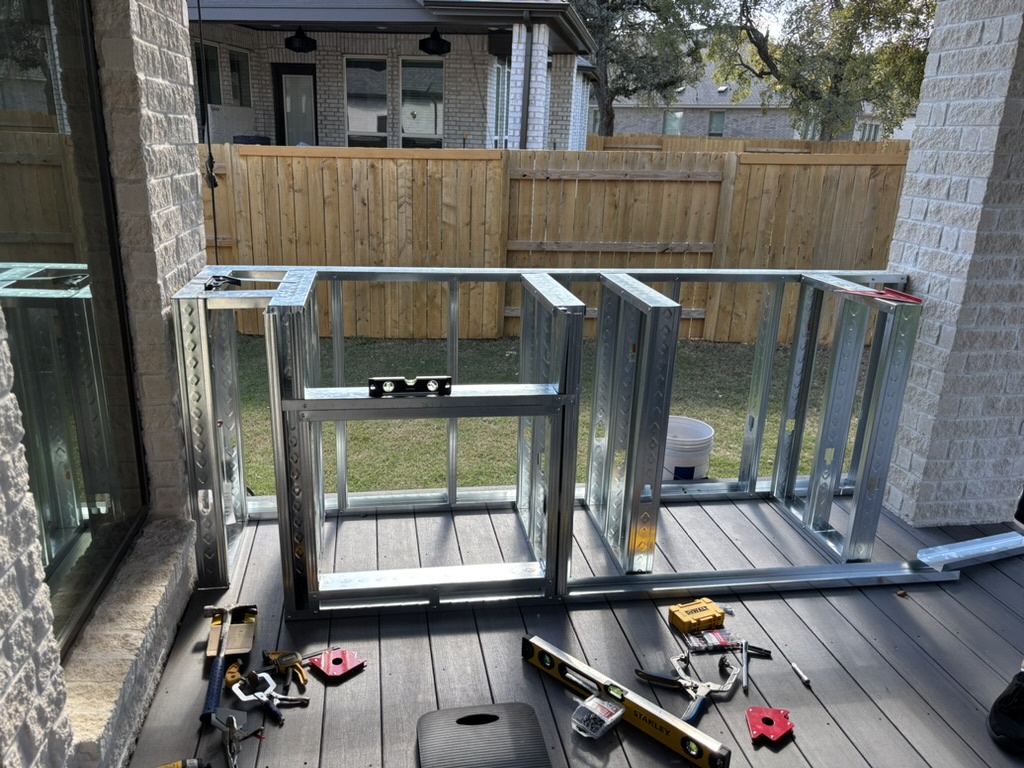
2) Build the Metal Frame
Lay the base track on your tape line, stand the studs, and screw them together. Frame simple rectangular openings for doors and appliances. Think “big TV cabinet, but metal.”
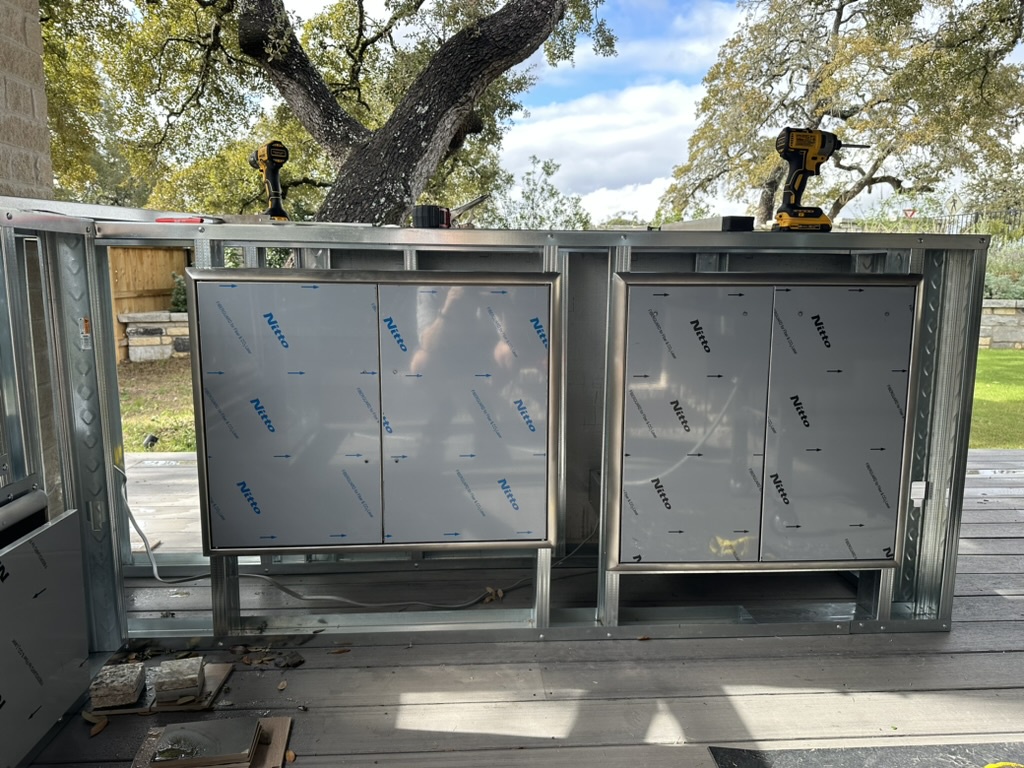
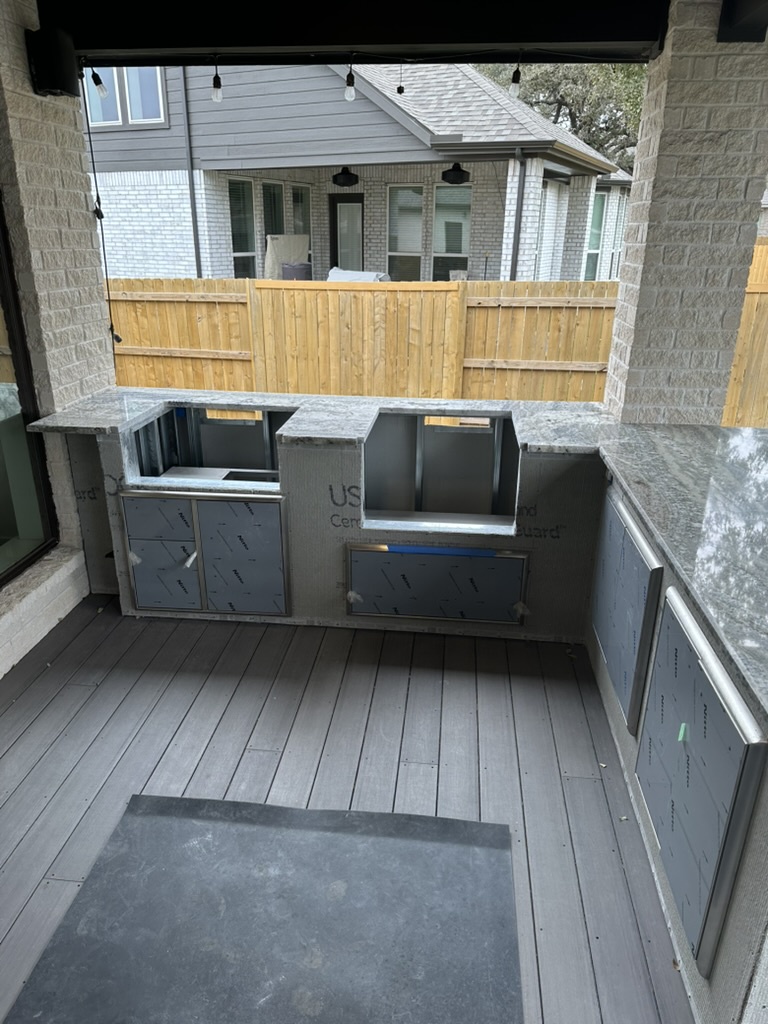
3) Dry-Fit Stainless Doors & Inserts
Pop the stainless doors/pull-outs into their openings to check the fit. Adjust the studs so gaps are even, then remove the doors to keep them pristine for later.
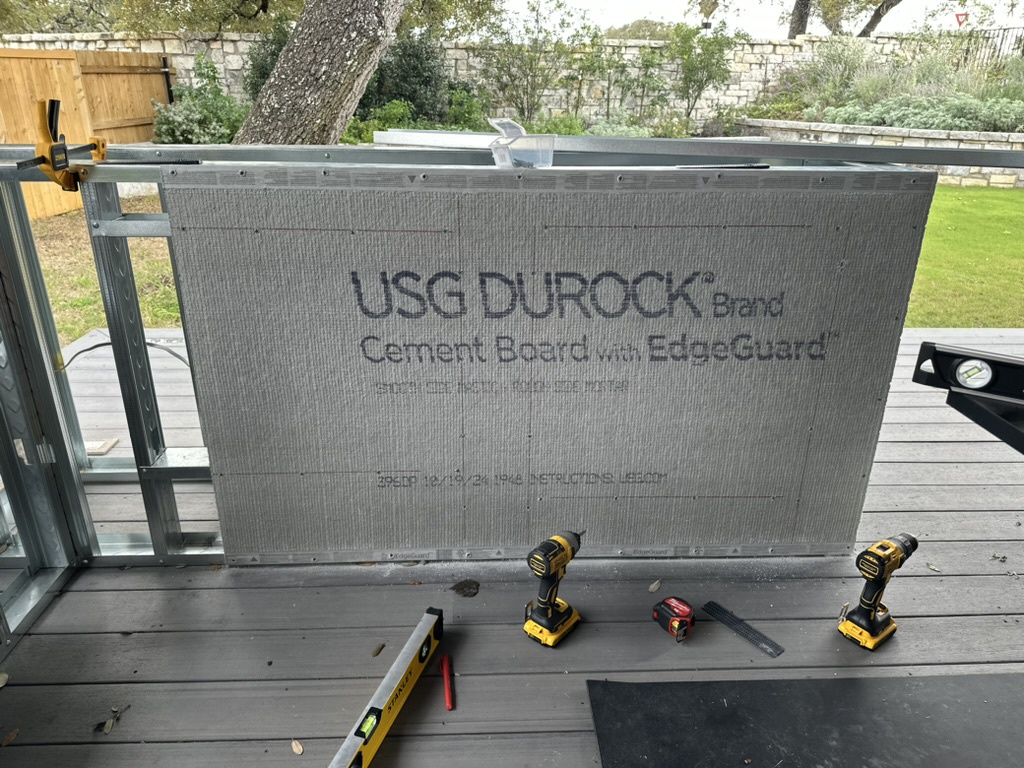
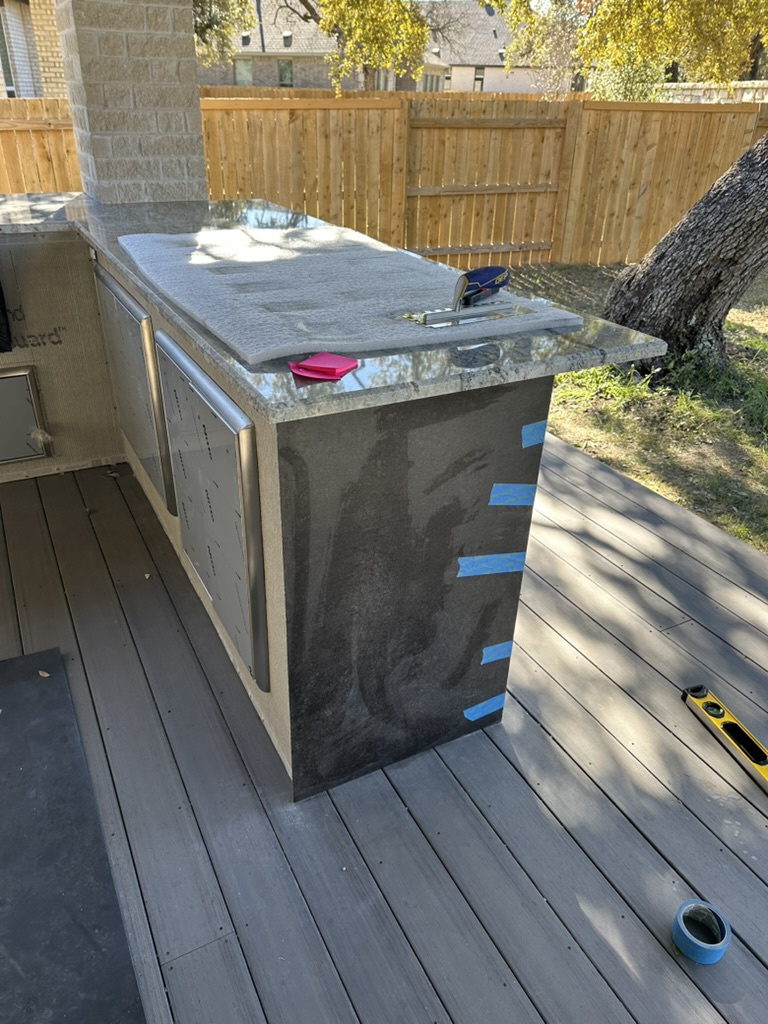
4) Skin It with Cement Board
Screw cement board to the front, sides and top ledges. Tape the seams and skim so you’ve got a tough, flat shell ready for stone and tiles.
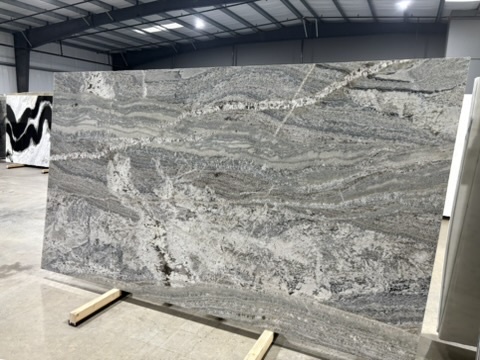
5) Pick the Countertop Slab
Choose a durable stone you love. The original build used a dramatic grey slab — great outside and easy to wipe down.
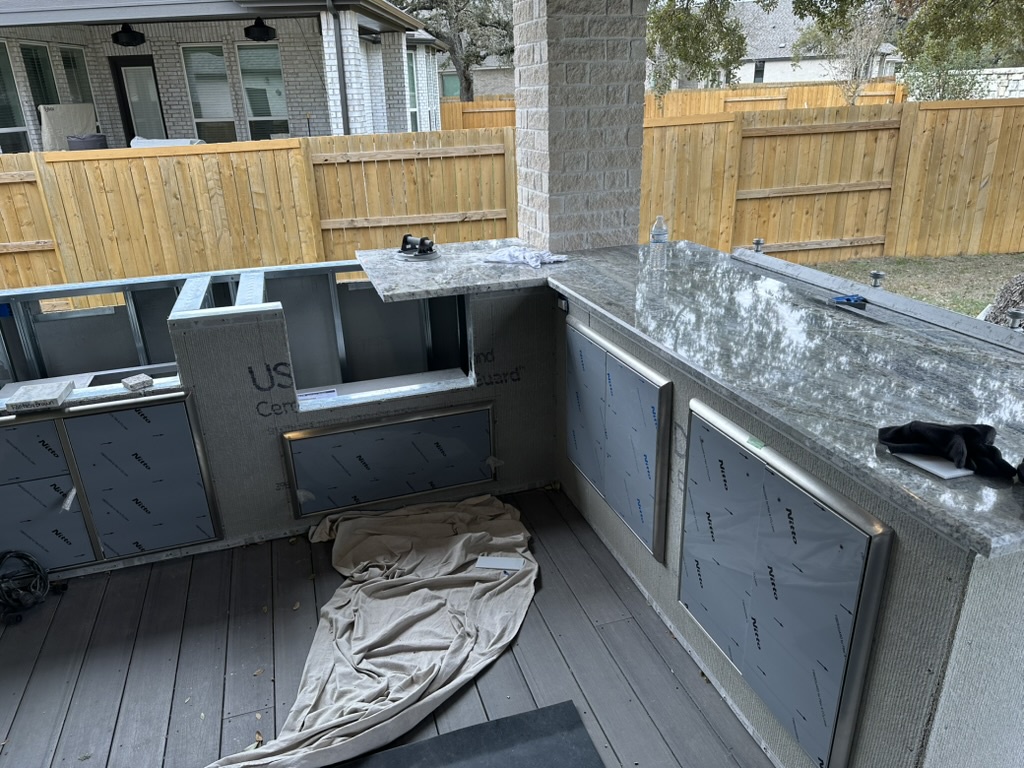
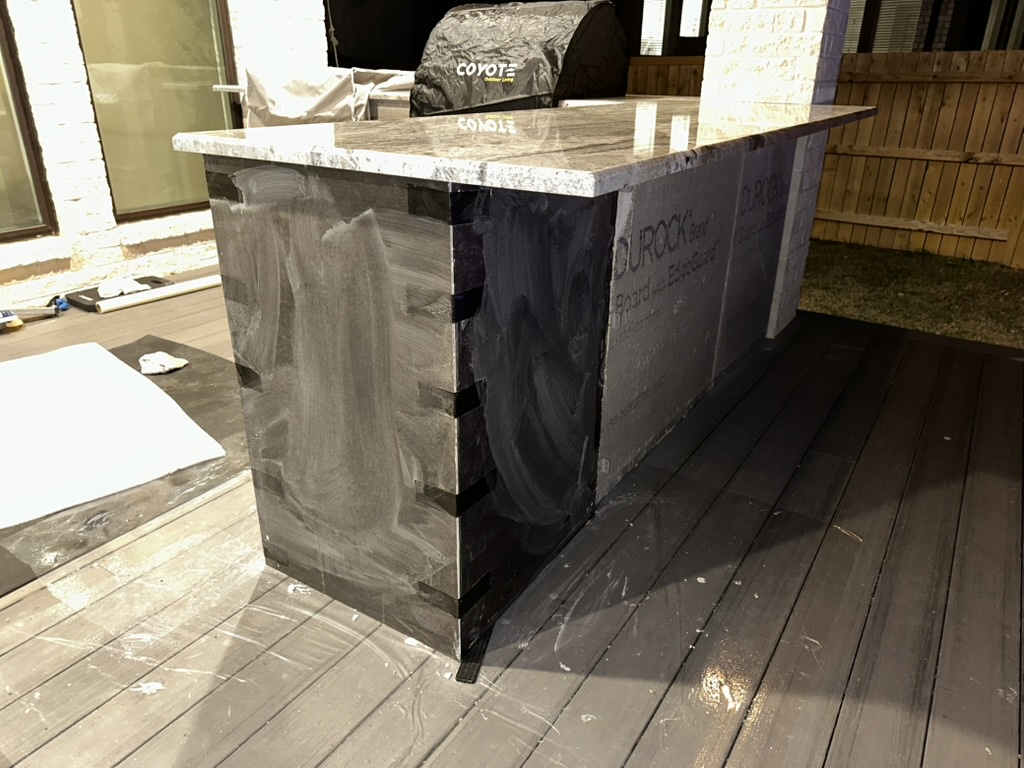
6) Template & Install the Countertop
Have the fabricator measure, cut and fit the tops. Ask for a neat overhang (about 1–1½ in / 25–40 mm) and consider a waterfall end on the bar side for a high-end look. Use hidden brackets where spans are long.
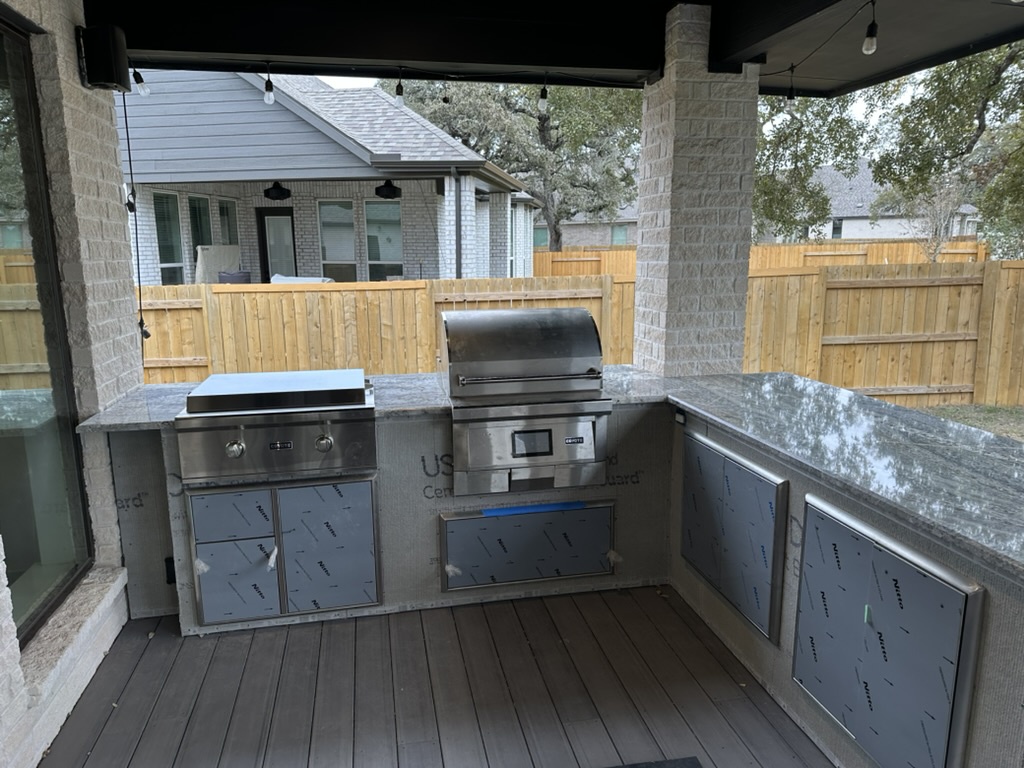
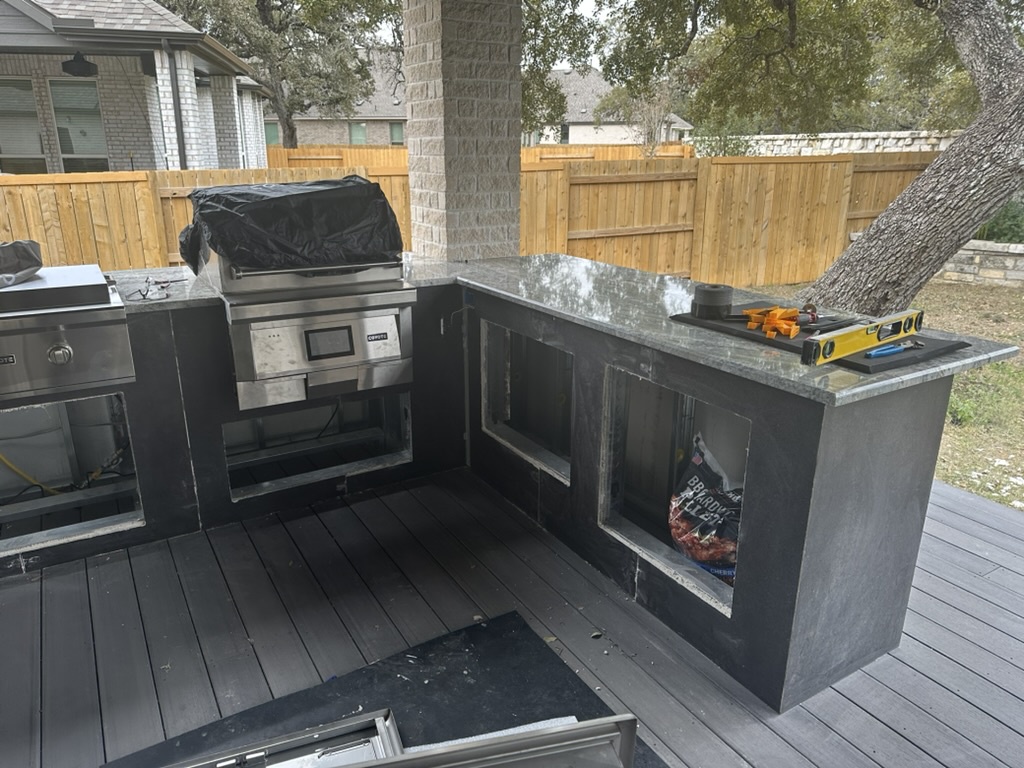
7) Set the Appliances
Slide in the griddle and pellet grill. Level so they sit flush with the countertop. Get a pro to connect power/gas, and add vent panels (low and high) for safety in closed bases.
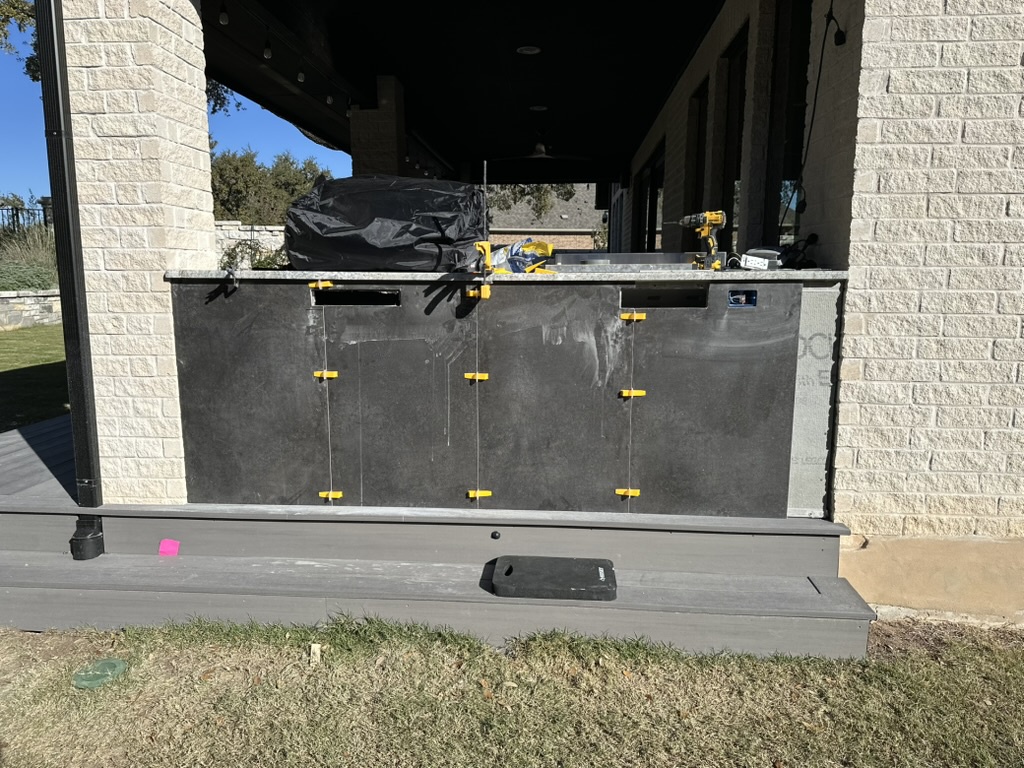
8) Add the Black Face Cladding
Tile the vertical faces with porcelain/stone. Keep grout lines even using spacers. Finish outside corners with a mitre cut or trim profile. Run a clean bead of silicone where cladding meets the stone.
Friendly Tips the Original Build Teaches
- Dry-fit first. Test doors/inserts before you cover the frame — your openings will be perfect later.
- Keep it square. A spirit level and a few clamps are 90% of a clean, pro-looking result.
- Waterfall = wow. That “stone down the side” trick looks premium and hides seams.
- Vent = safety. If there’s gas or a closed grill base, add low and high vents as per the manual.
Covers extend life. A simple appliance cover keeps things pristine year-round.
The best part wasn’t the last tile or the first steak—it was the moment the frame turned into a kitchen because I did the next small step, and then the next. If the photos above help you do the same, borrow the playbook, make it yours, and when you light it up the first time, tell us how it went.
Leave a Reply