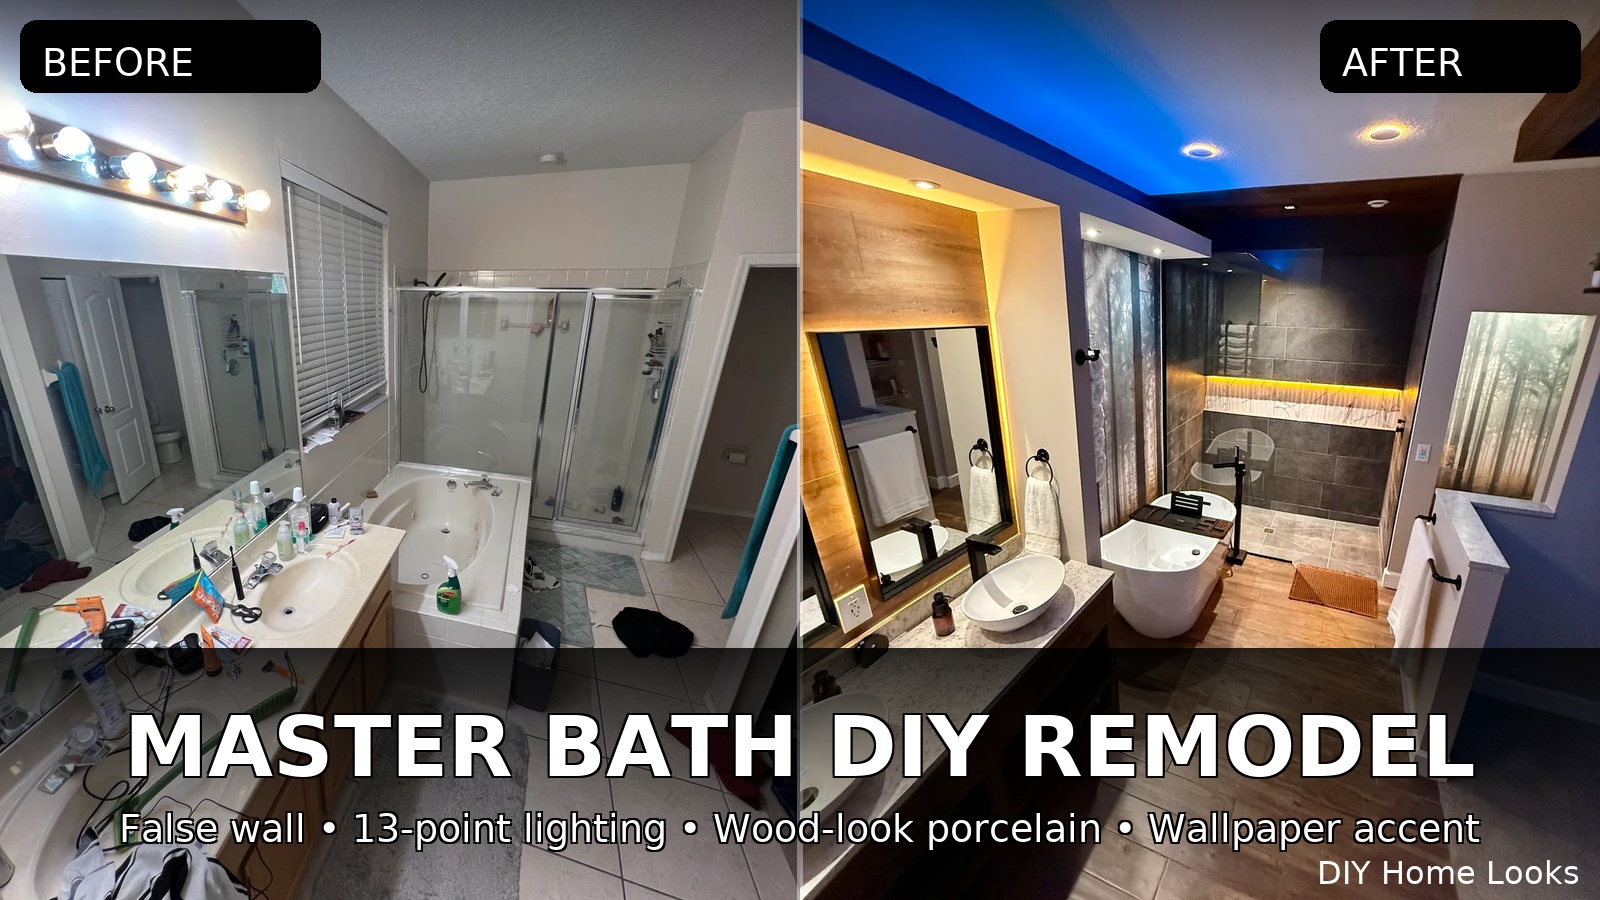
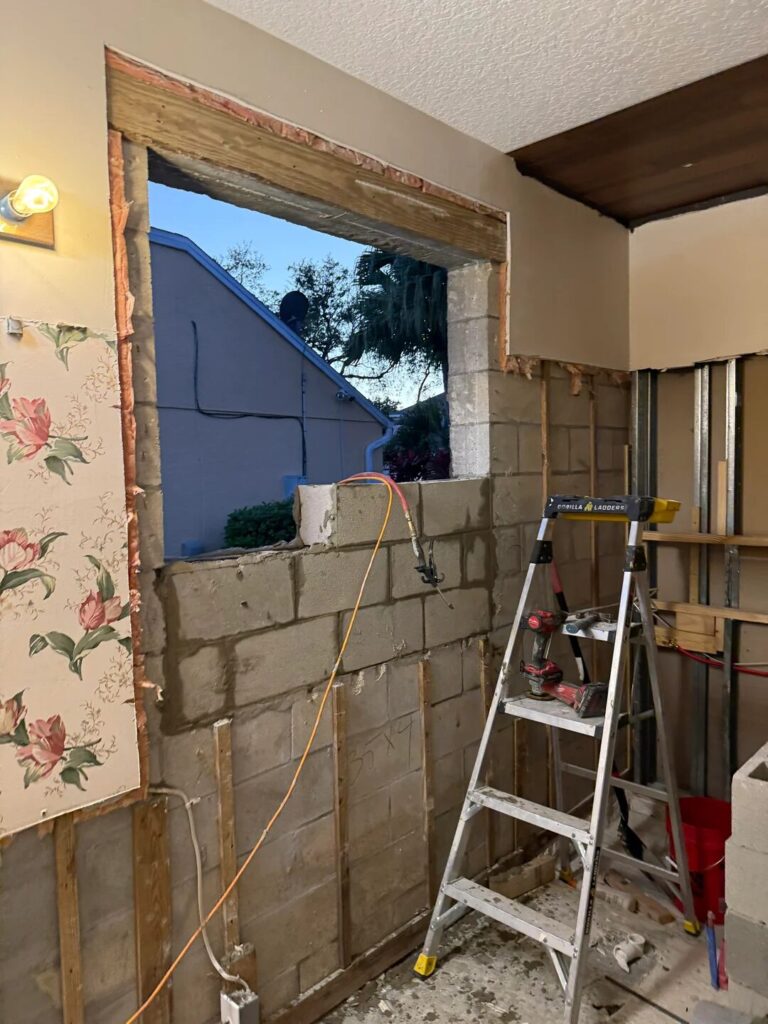
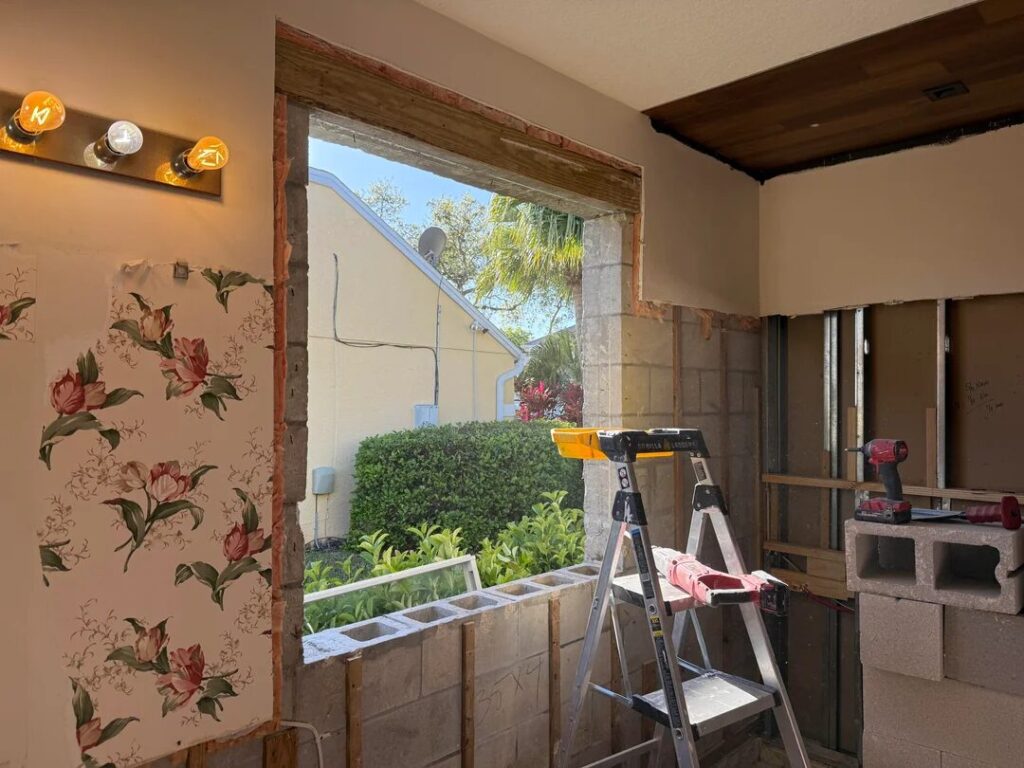
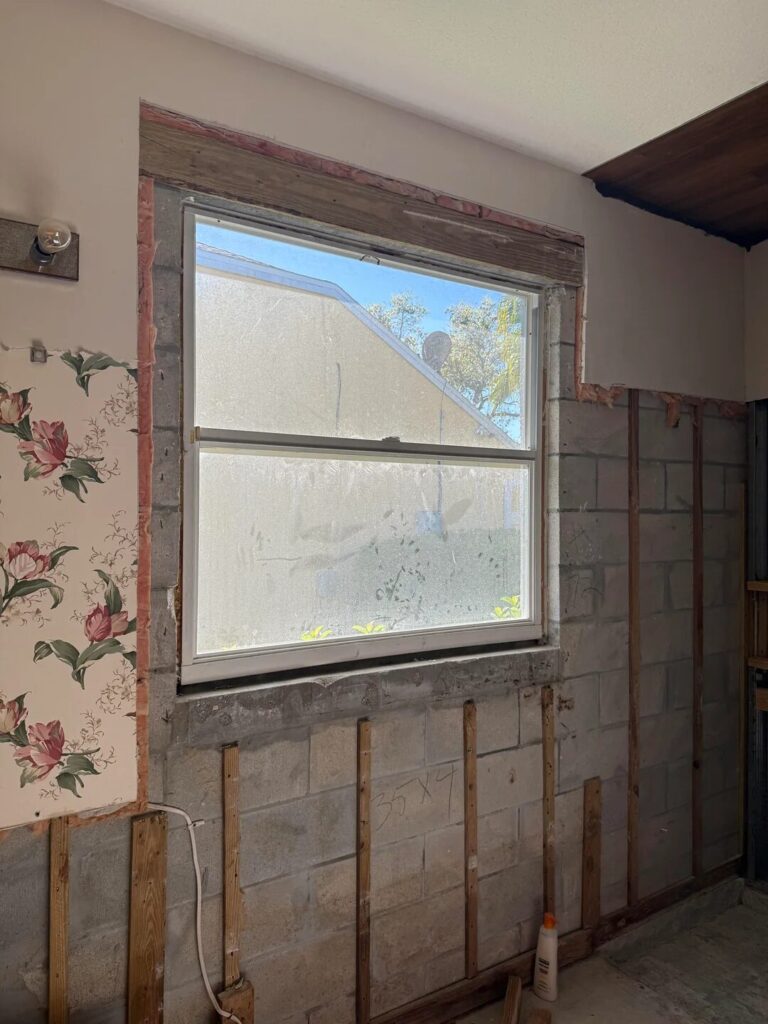
I recently came across an inspiring master bathroom remodel on r/masonry and knew I had to share it here. The homeowner (u/MrSteveB) tackled nearly everything himself over about four months of weekends, and the transformation is remarkable. The big swing? He removed an entire window to take full control of the lighting—then layered in a thoughtful plan with recessed LEDs and accents that make the space feel modern, calm, and spa-like.
Why this project stands out
1) Lighting as a design material
The original bathroom had just three lights. The new plan uses roughly thirteen lighting points—primarily recessed LEDs—on grouped switches so he can illuminate only the zones he wants (like the four cans over the sink and tub) without over-lighting the room. By removing the window, he can control brightness and color temperature any time of day, and the colored LEDs pop beautifully. This is a masterclass in mood control through lighting layers.
2) Layout ideas, boosted by AI
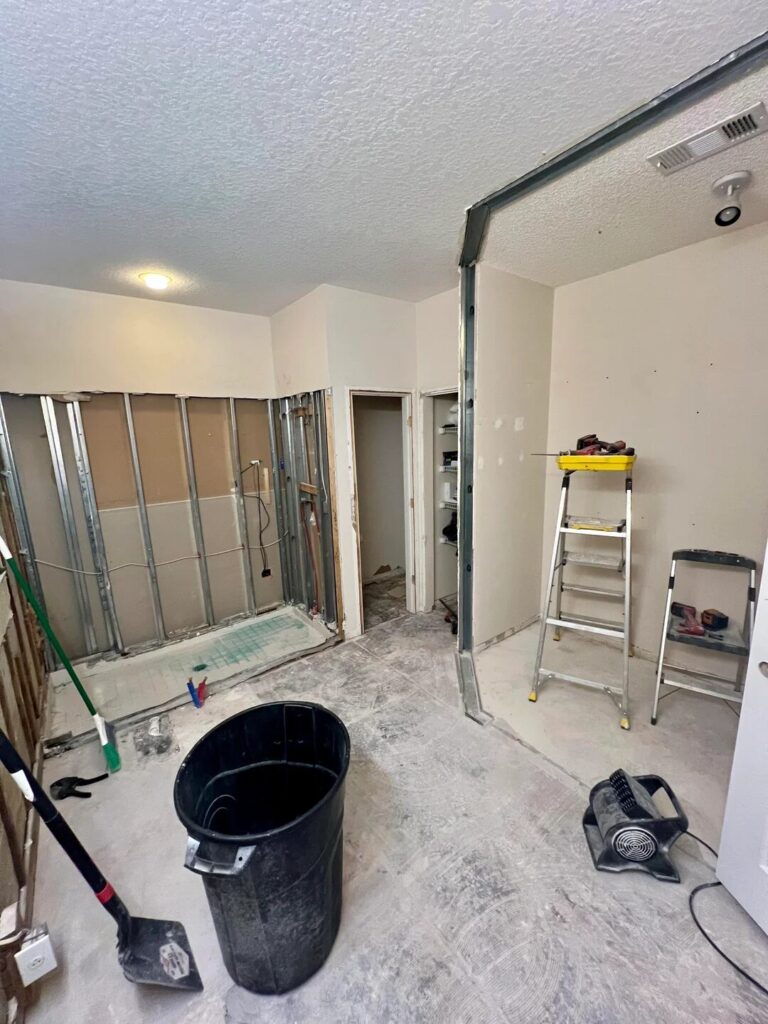
He started with a general vision, then ran the space through an AI remodel generator to test options. Two ideas it surfaced became signature moves: a false wall above the sink and tub and a subtle divider between zones—clever details that add depth and intention to the plan.
3) Comfort through better insulation
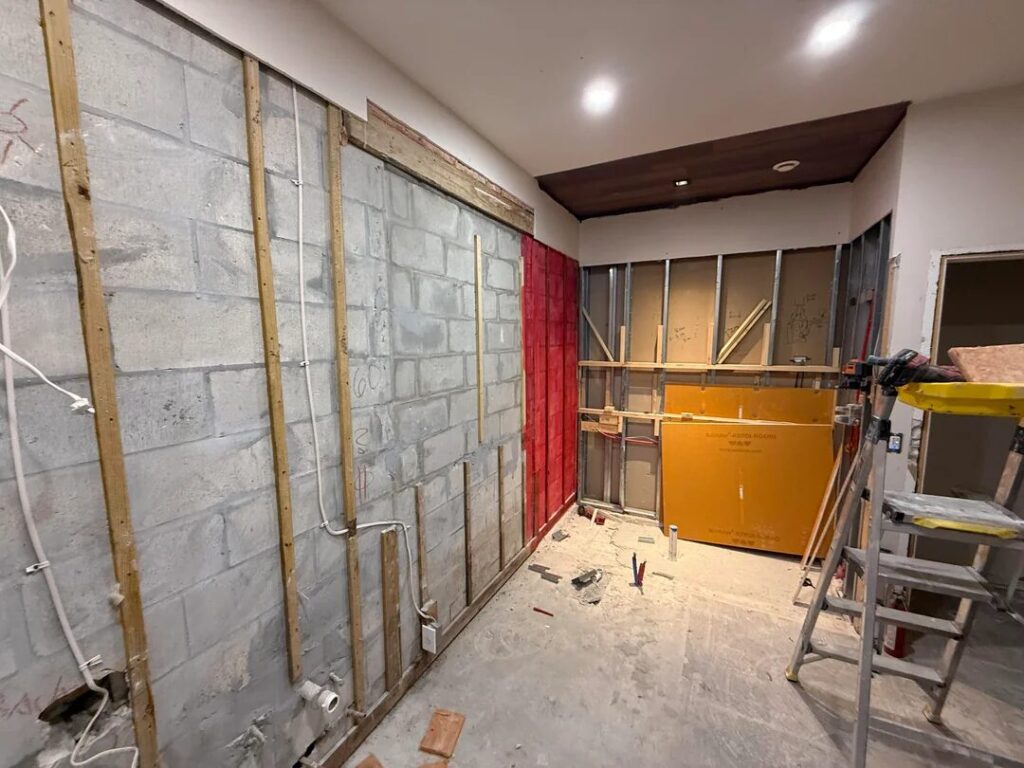
The home’s exterior bathroom wall was concrete/stucco with very thin insulation—basically the thickness of a furring strip—so afternoons ran warm. He framed a 2×4 false wall and packed it with 4″ fiberglass insulation across that whole span. Result: noticeably better comfort, especially later in the day.
Materials & finishes that make the look
- Flooring: Wood-look porcelain tile, 6×36″. He found overstock at a deep discount—about $0.25–$0.50/sq ft—and used it throughout his bathrooms for visual continuity and cost control.
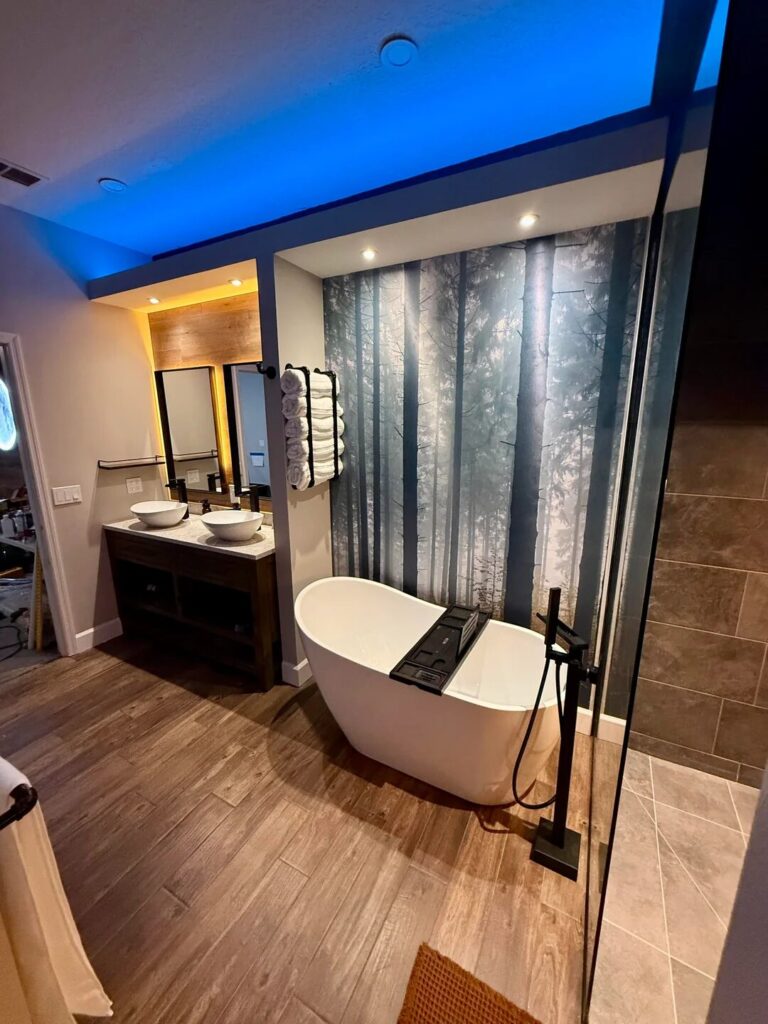
- Walls: A refined mix—wood cladding accents plus wallpaper behind the tub (with extra panels carried into the toilet room). It’s a high-impact, budget-savvy pairing.
- Fixtures & palette: Lots of natural tones with crisp white fixtures (sink, freestanding tub, toilet) to keep everything fresh and bright.
The tub decision (and a great resale mindset)
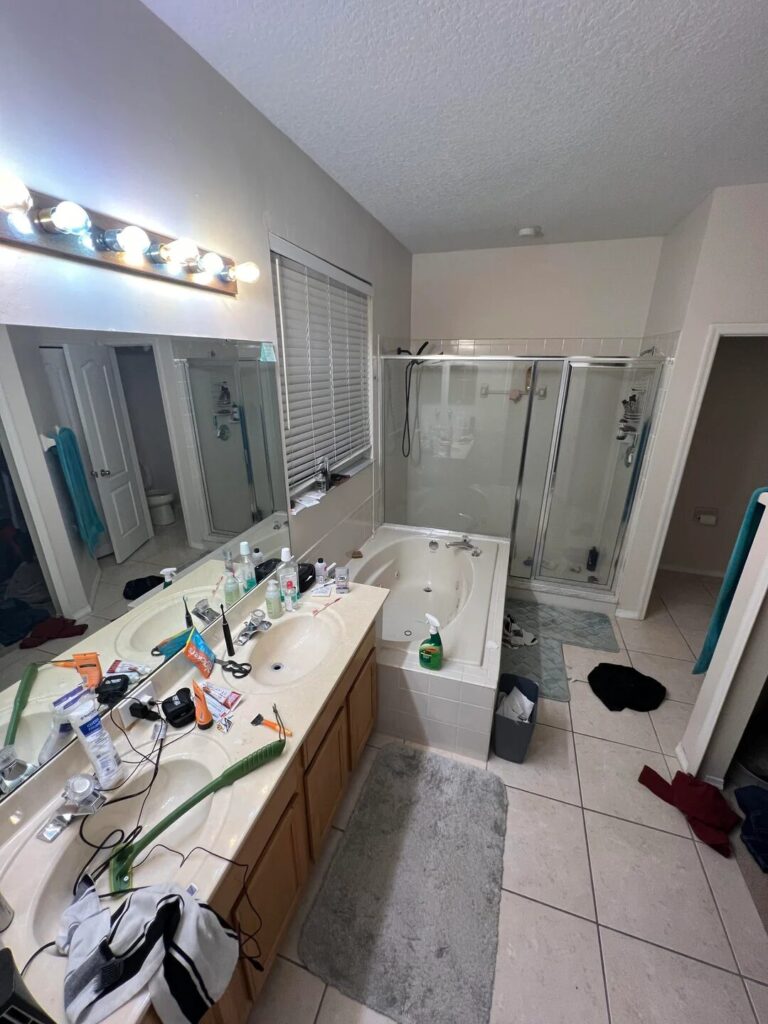
He debated for months: expand the 60″ vanity or keep a bathtub. Ultimately, he kept the tub—both for the way it elevates the room and for future resale appeal (someone touring the home might fall in love with that spa focal point). He even reused plumbing from the old Jacuzzi, adding an island drain to make it work. Smart, practical, and value-minded.
What you can learn (and apply) from this remodel

- Design the lighting first. Decide where you want tasks, accents, and ambient glow, then group switches so you can “compose” scenes. If you struggle with glare or heat gain, consider how much daylight you truly want—and whether controlling it (blinds, film, or, as here, no window) serves the space better.
- Test layouts with tools. Even if you have a strong vision, running the space through a design generator or planner can surface ideas (like a shallow divider or false wall) you may not think of on your own.
- Invest where it counts: comfort. A well-insulated false wall can solve heat gain on exterior walls, improve acoustics, and create new routing space for lighting and wiring.
- Balance budget and impact. Overstock porcelain can deliver durability and a unified look for pennies on the dollar. Then use wallpaper and targeted wood details to bring warmth and texture.
- Think like a future buyer. A tub can be a powerful “yes” moment. If you have plumbing you can adapt—like he did—that decision gets easier.
A quick, repeatable process checklist
- Scope & mood: Define how you want the room to feel at night and during the day.
- Layout exploration: Use AI or layout tools for 2–3 concept passes (look for simple moves that add depth).
- Structure & comfort: If altering openings (like a window), get proper guidance; build false walls where insulation or routing would help.
- Lighting plan: Map cans, accents, and mirror lighting; split onto logical switch groups.
- Finishes: Choose one budget workhorse (e.g., wood-look porcelain) and one or two high-impact accents (e.g., wallpaper).
- Plumbing decisions: Weigh daily habits vs. resale; reuse lines when possible (e.g., island drain conversions).
One fun detail to borrow
In the adjoining primary bedroom, he installed a 24″ “moon” light (dimmable, multiple warmth settings), wired to the wall switch with the side pendants. It’s a simple way to add drama and cohesion to the bath-suite experience.
Final thoughts
I love projects that show restraint and intention—this one is a great example. By treating lighting as a central design material, backing it up with practical insulation, and making a few high-impact finish choices, he created a calm, contemporary bath that’s both personal and broadly appealing. If you’re planning your own refresh, let this be your reminder: get the light right first, then layer everything else around it.
Credit & source: All project photos and details come from the original Reddit post by u/MrSteveB: “Thank you r/masonry for help when I wanted to remove a whole window in my master bathroom DIY remodel.
Leave a Reply